Carpenter work requires basic math, there’s only four numbers, Plumb ~ Level ~ Square ~ Straight. If your math don’t add up you got trouble.
I was thinking yesterday if you handed a new Union Carpenter a set of plans, pile of 2×4’s and said build this house………… most likely he’d look at his tin snips and cordless screwgun look at you and say “WHAT”?
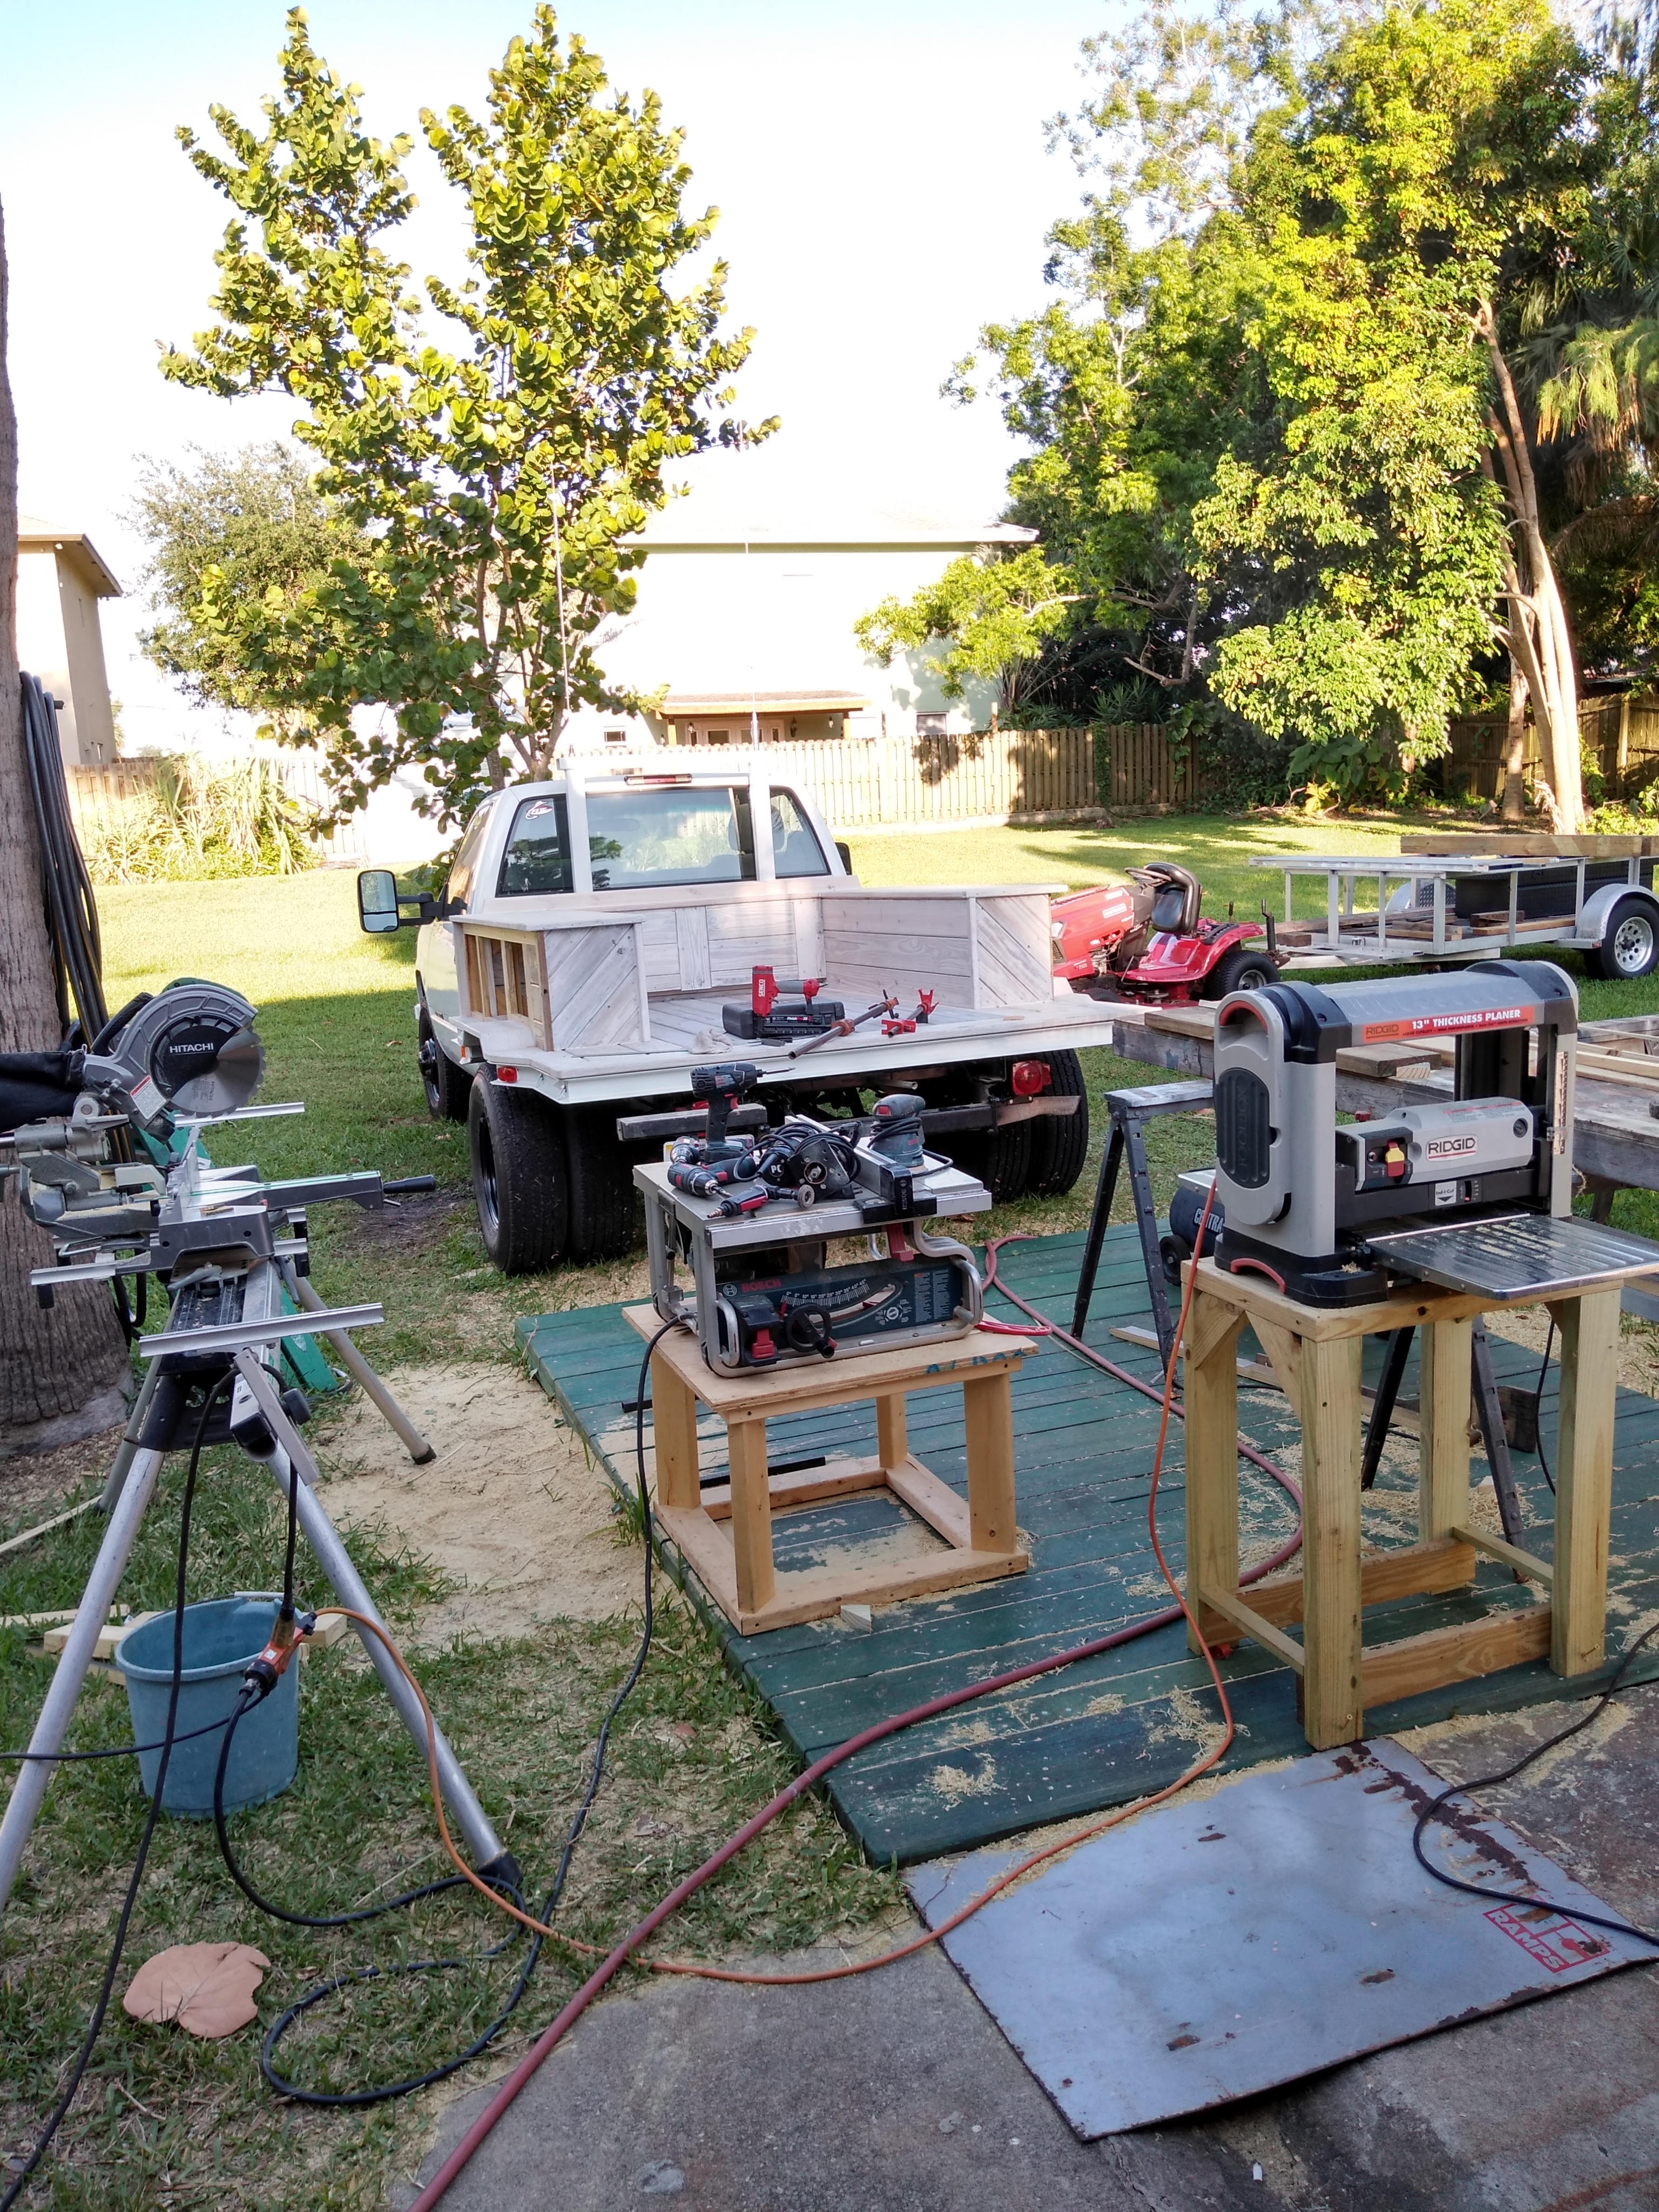
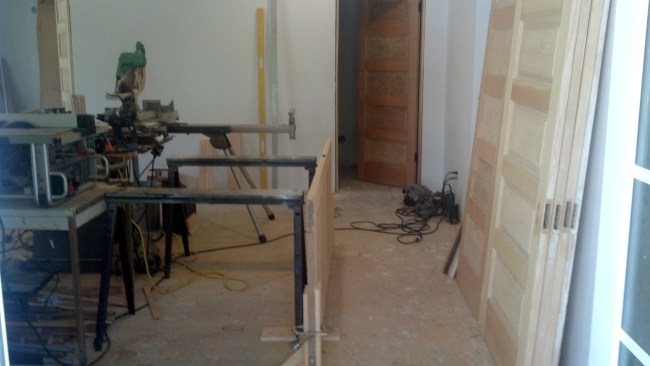
Depending on your device there is a menu at top or side of page, click “Have Saw ~ Will Travel” to see What can I do for you? Can probably fix, re-store, re-finish, re-build or trash and start over anything you got that brought you here in the first place. The current project below should be sufficient testimony to that!
After three years of Broward County I am back home again, went around the corner to “Historic Restoration Project” that’s been on-going for years and got a job there. Drywall done and painted is finally ready for some “Carpenter” work.
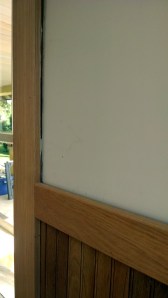
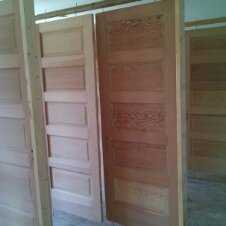
First on the list of many is making jambs out of new cypress for some stripped ancient cypress doors. These “Doors” had the old Mortice Lock Sets installed once and are pre-morticed for old hinges that were thicker than todays new ones available. No two doors are the same size nor are any of the new framed openings that greeted me.
Some bevels were backwards, some doors needed squaring up.
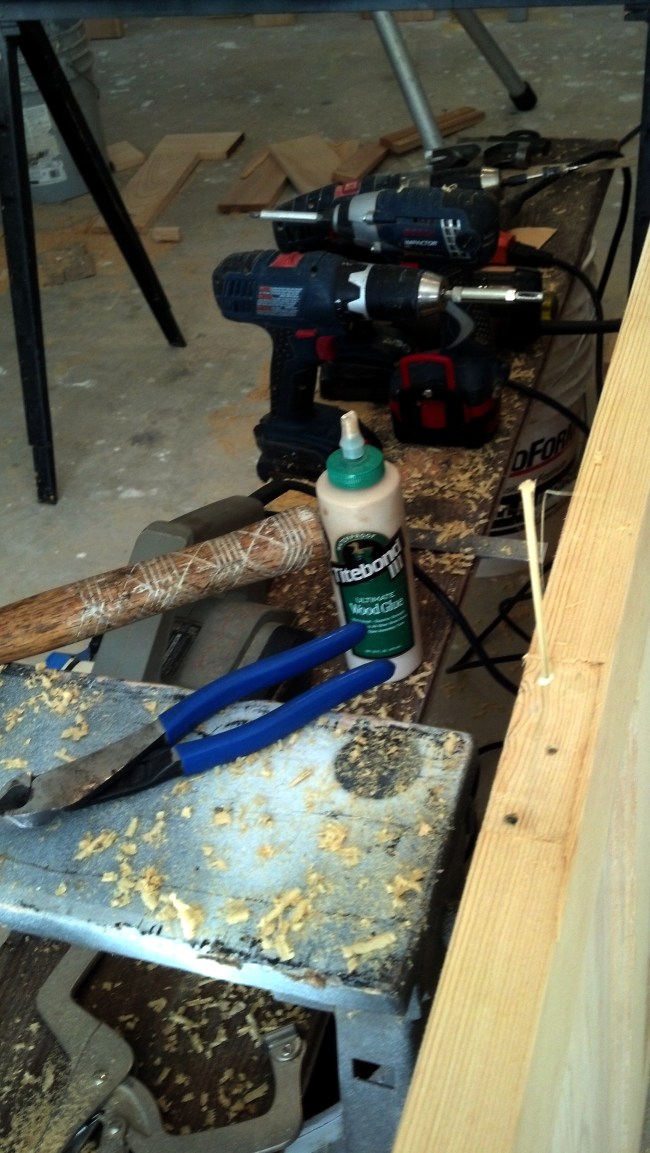
Exhisting mortice and screw holes were sloppy and needed some attention. I use BBQ. Squew Sticks for most screwholes with some wood glue, they fit and do just fine. Vics bit (centering bit) through the hinge screw holes insures proper and straight screw placement.
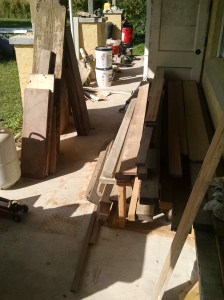
Some (most) of the framing needed slight modifications on occasion to install the new door jambs, I had to use a number of different methods including some “Old Saint Lucie River / Palm City / Red~Neck Trade Secrets” learned over the decades.
Doors installed but will need to come down, sanded, stained and finished at a later date.
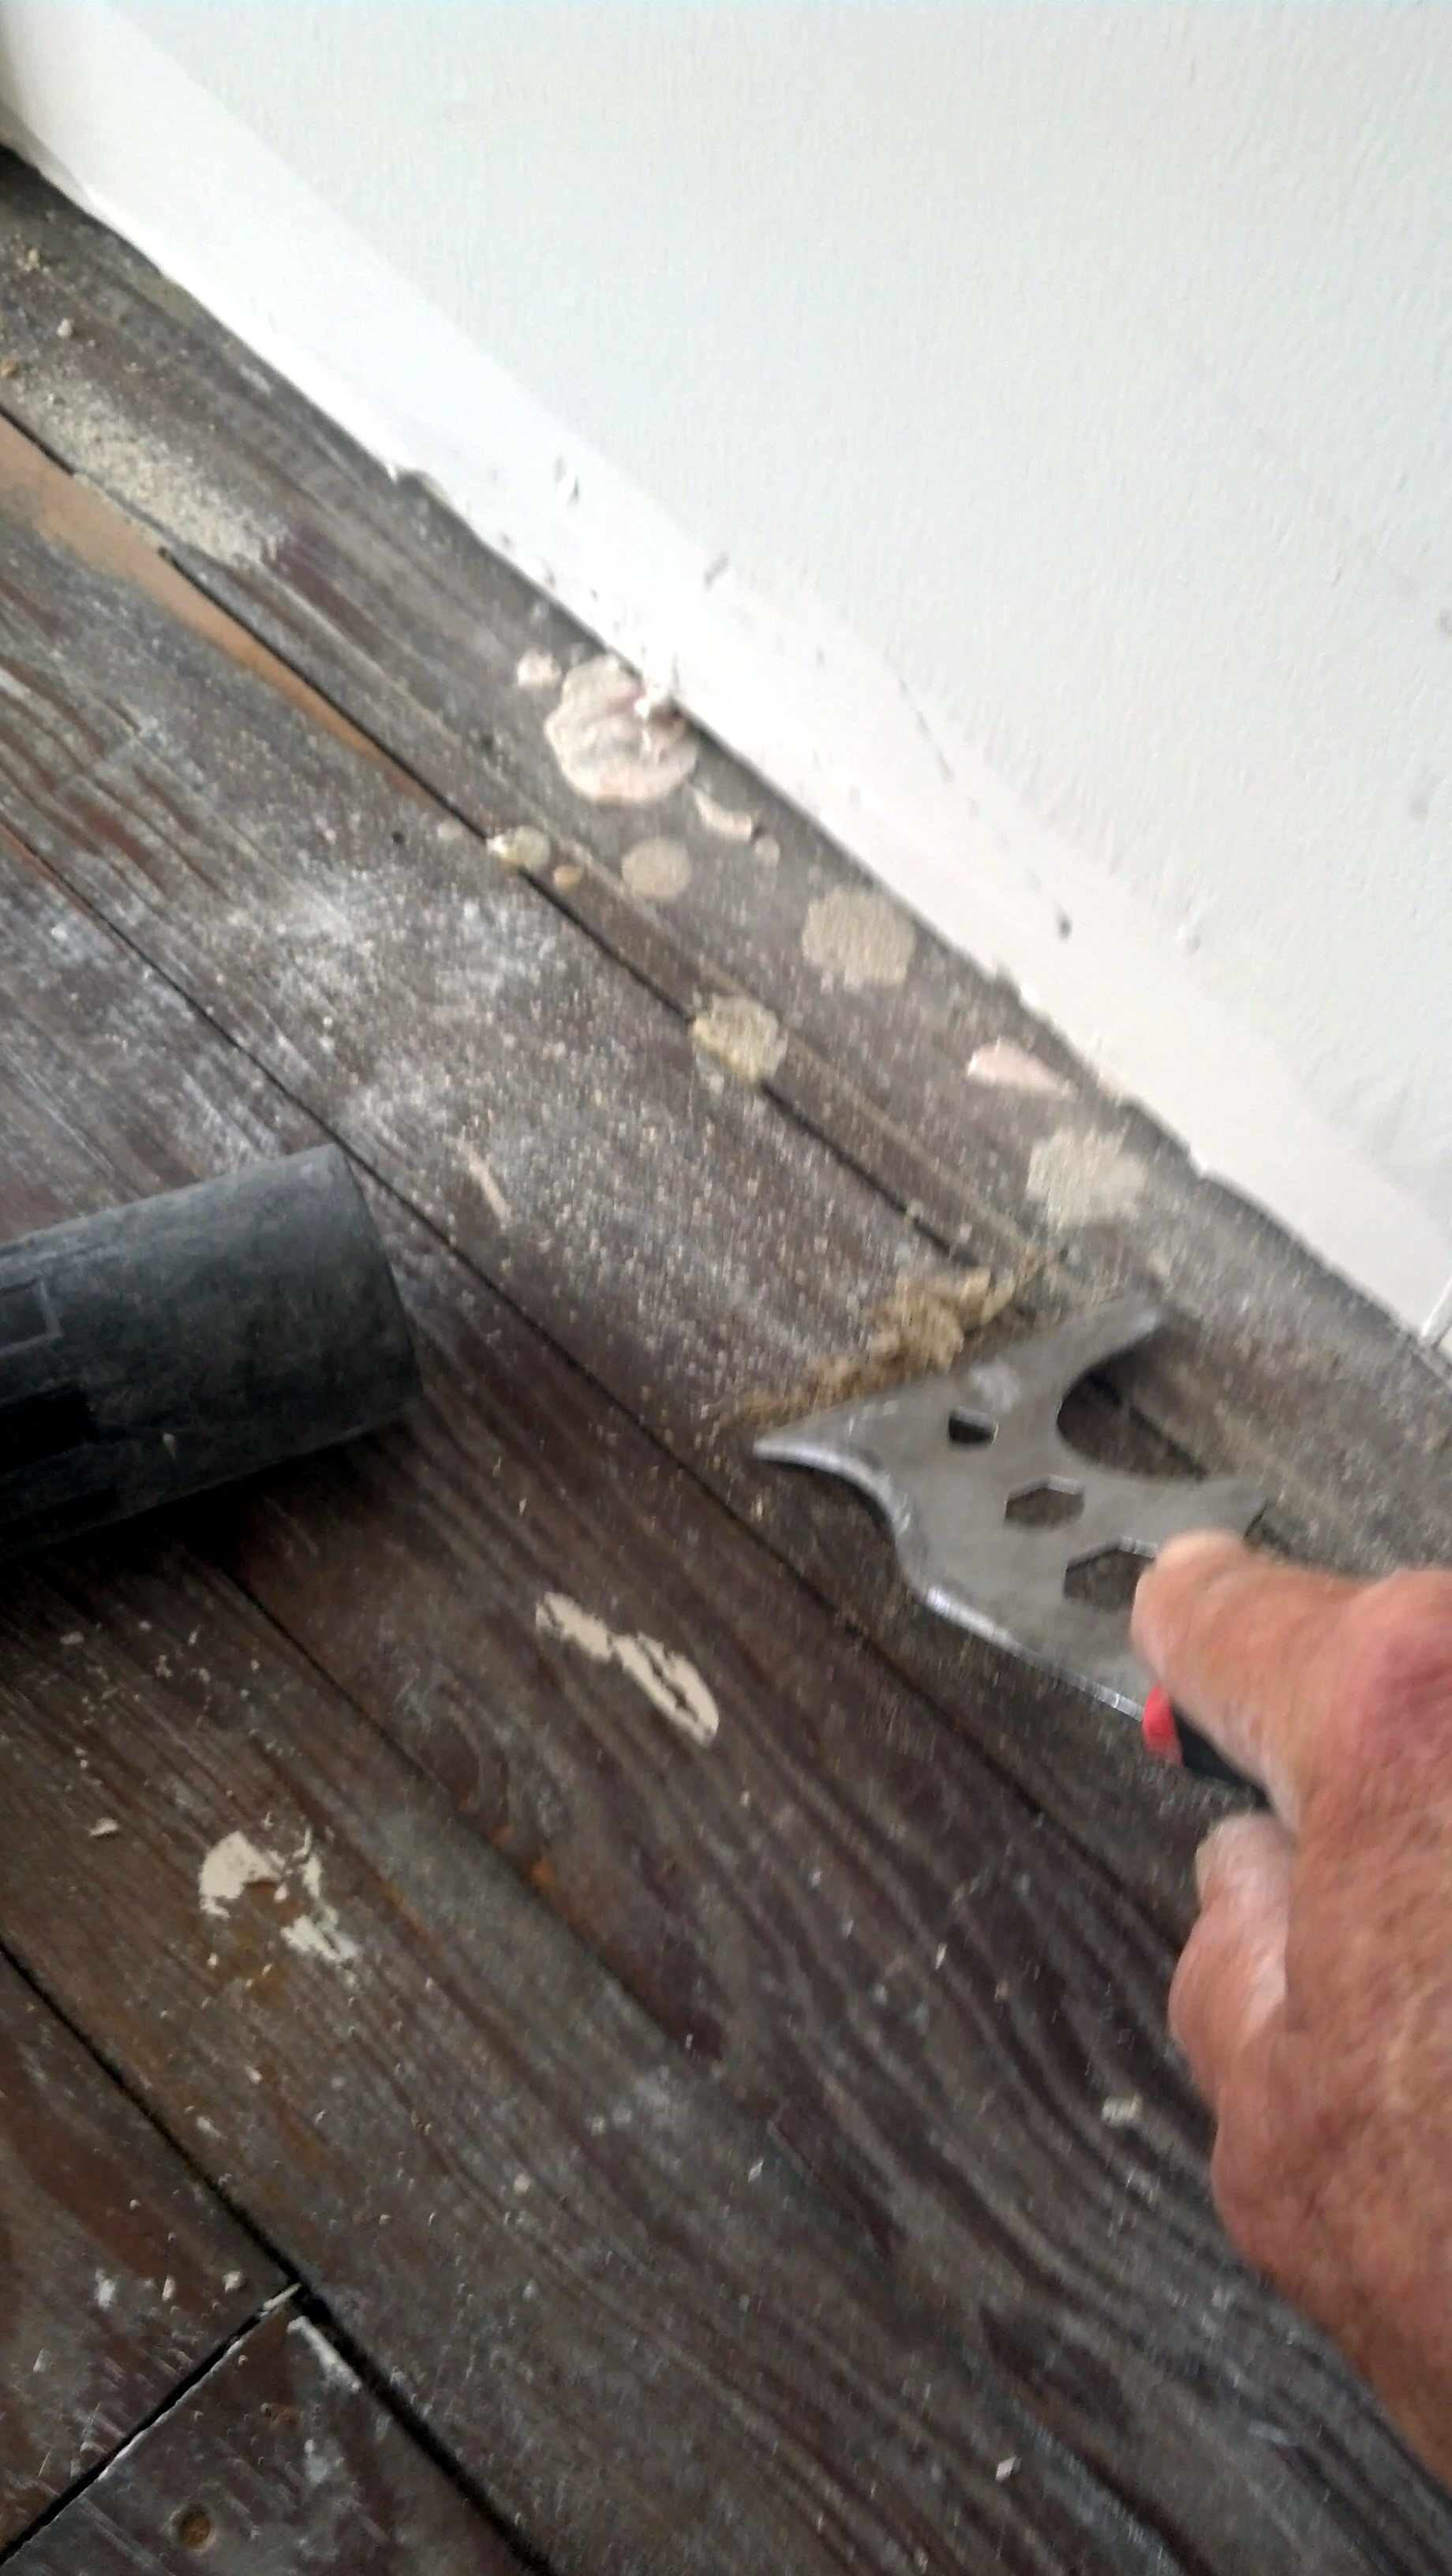
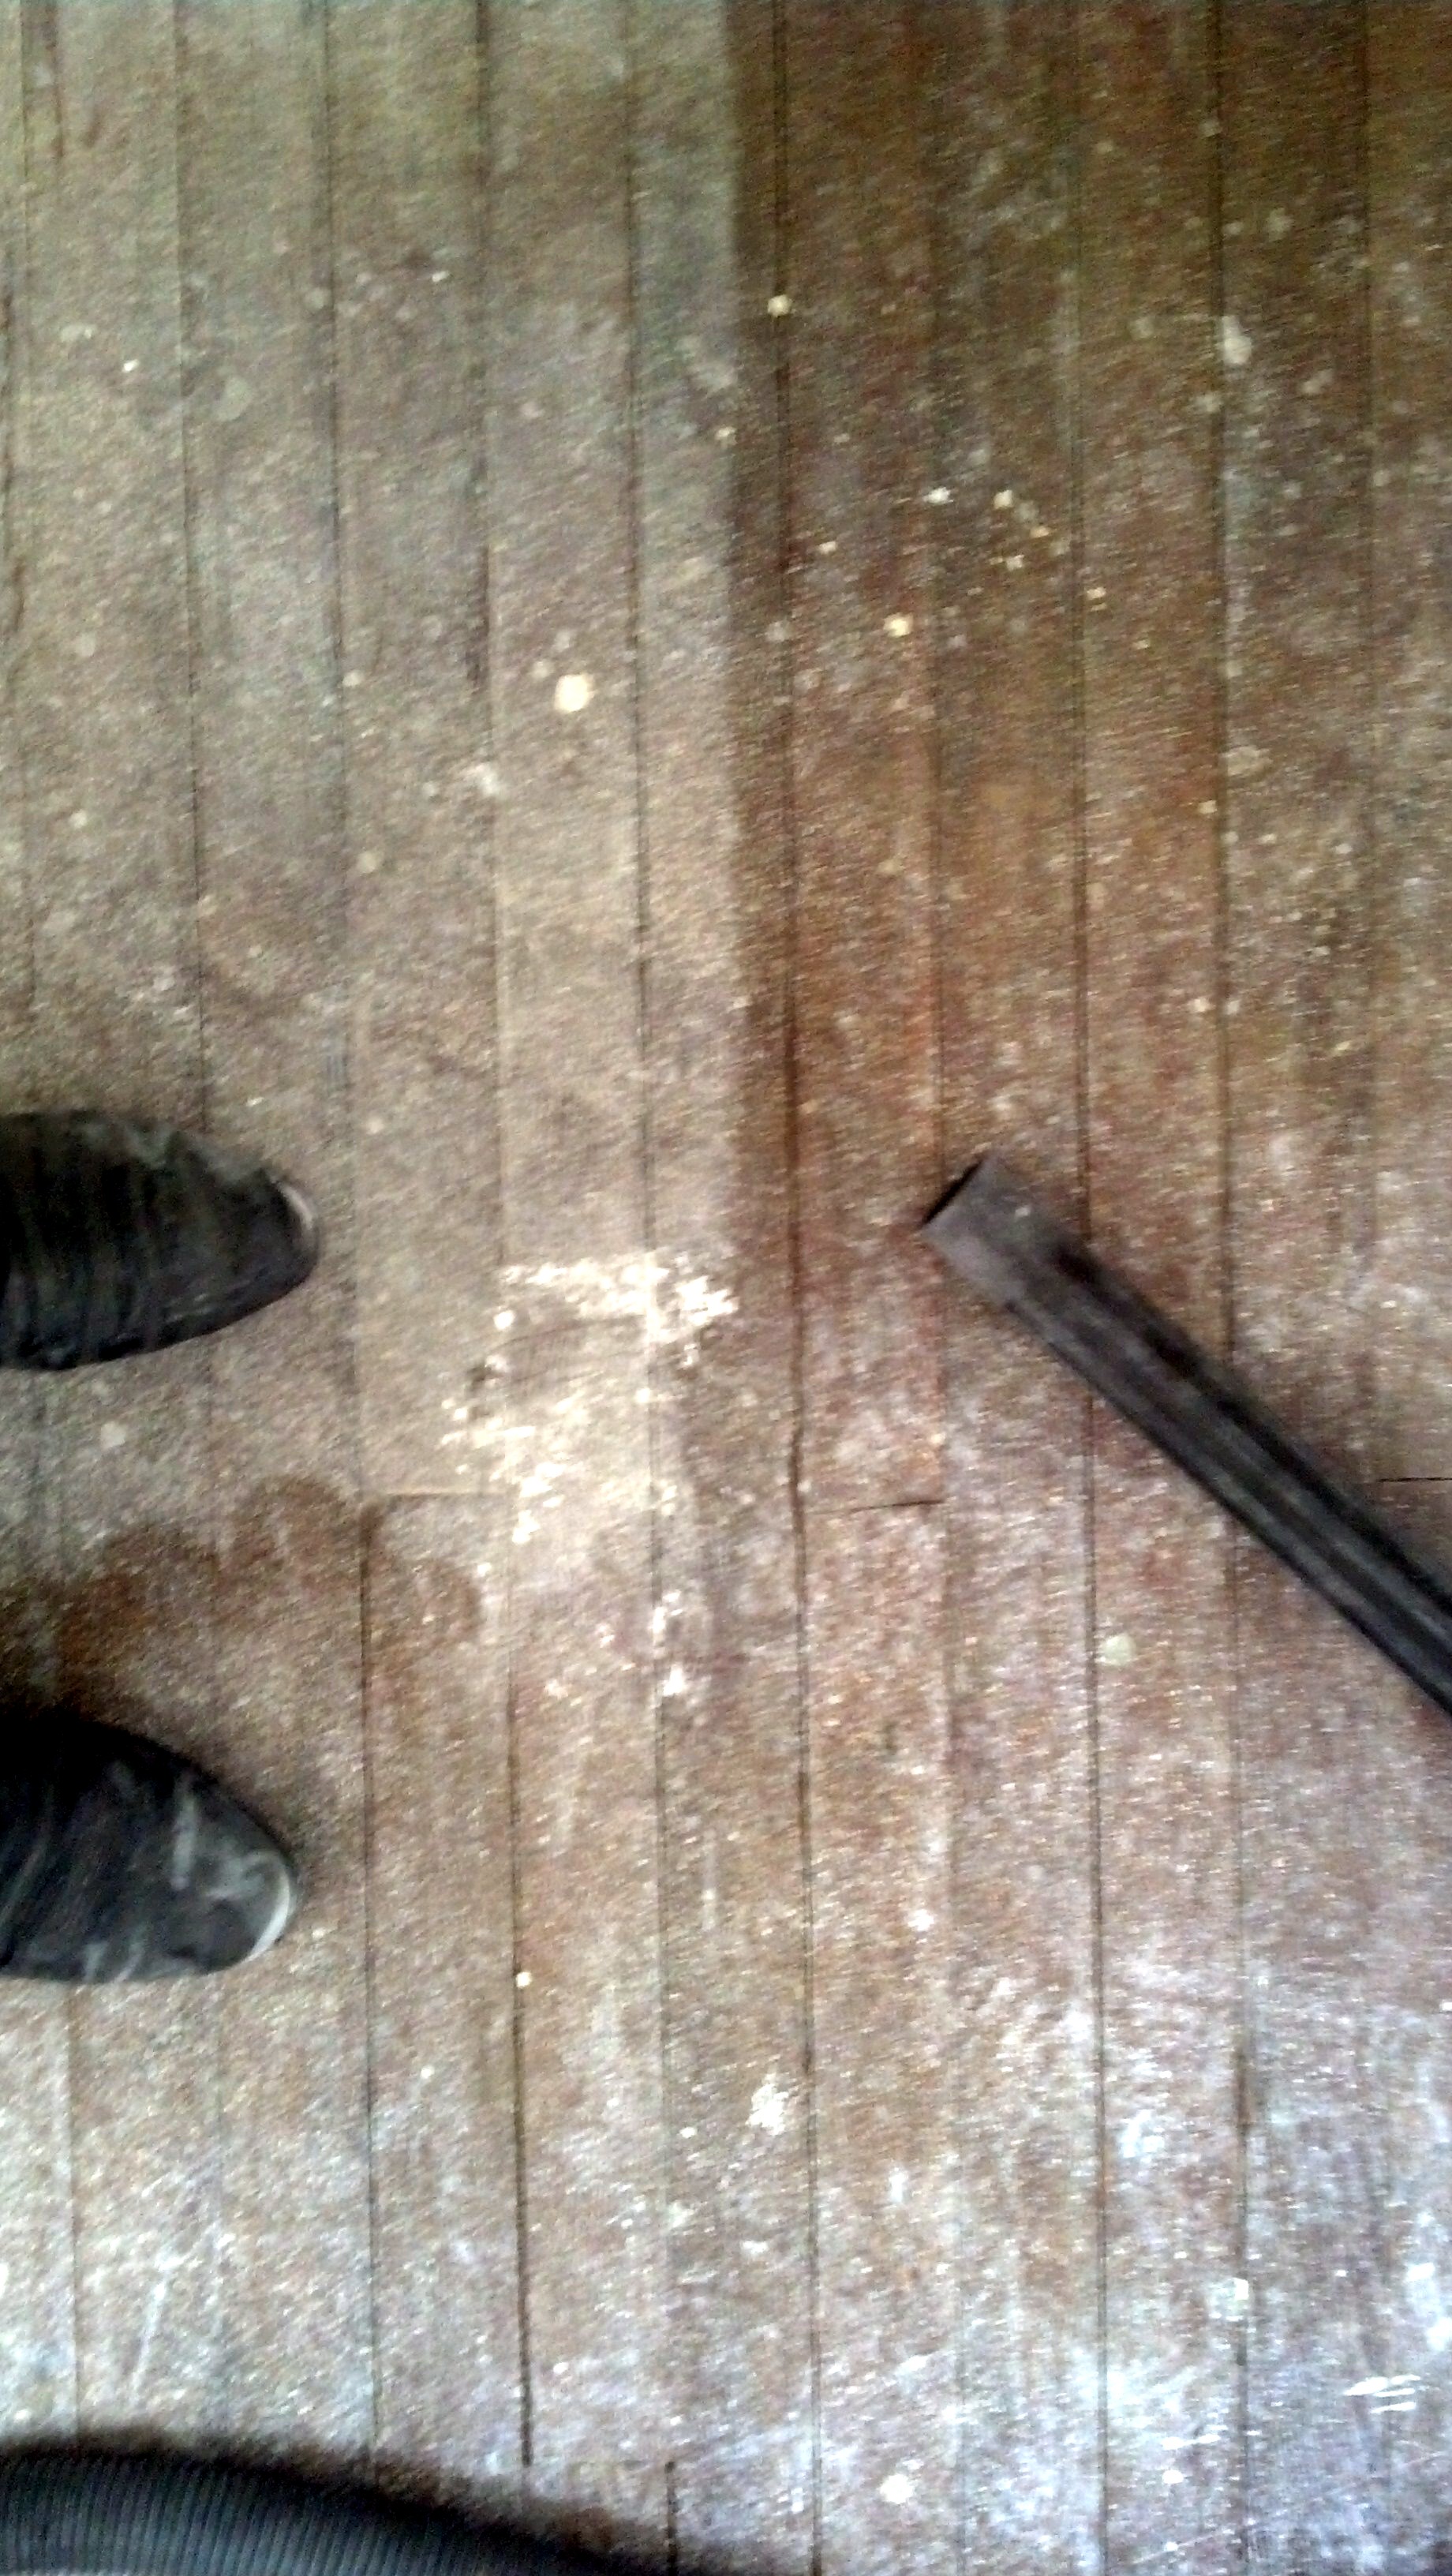
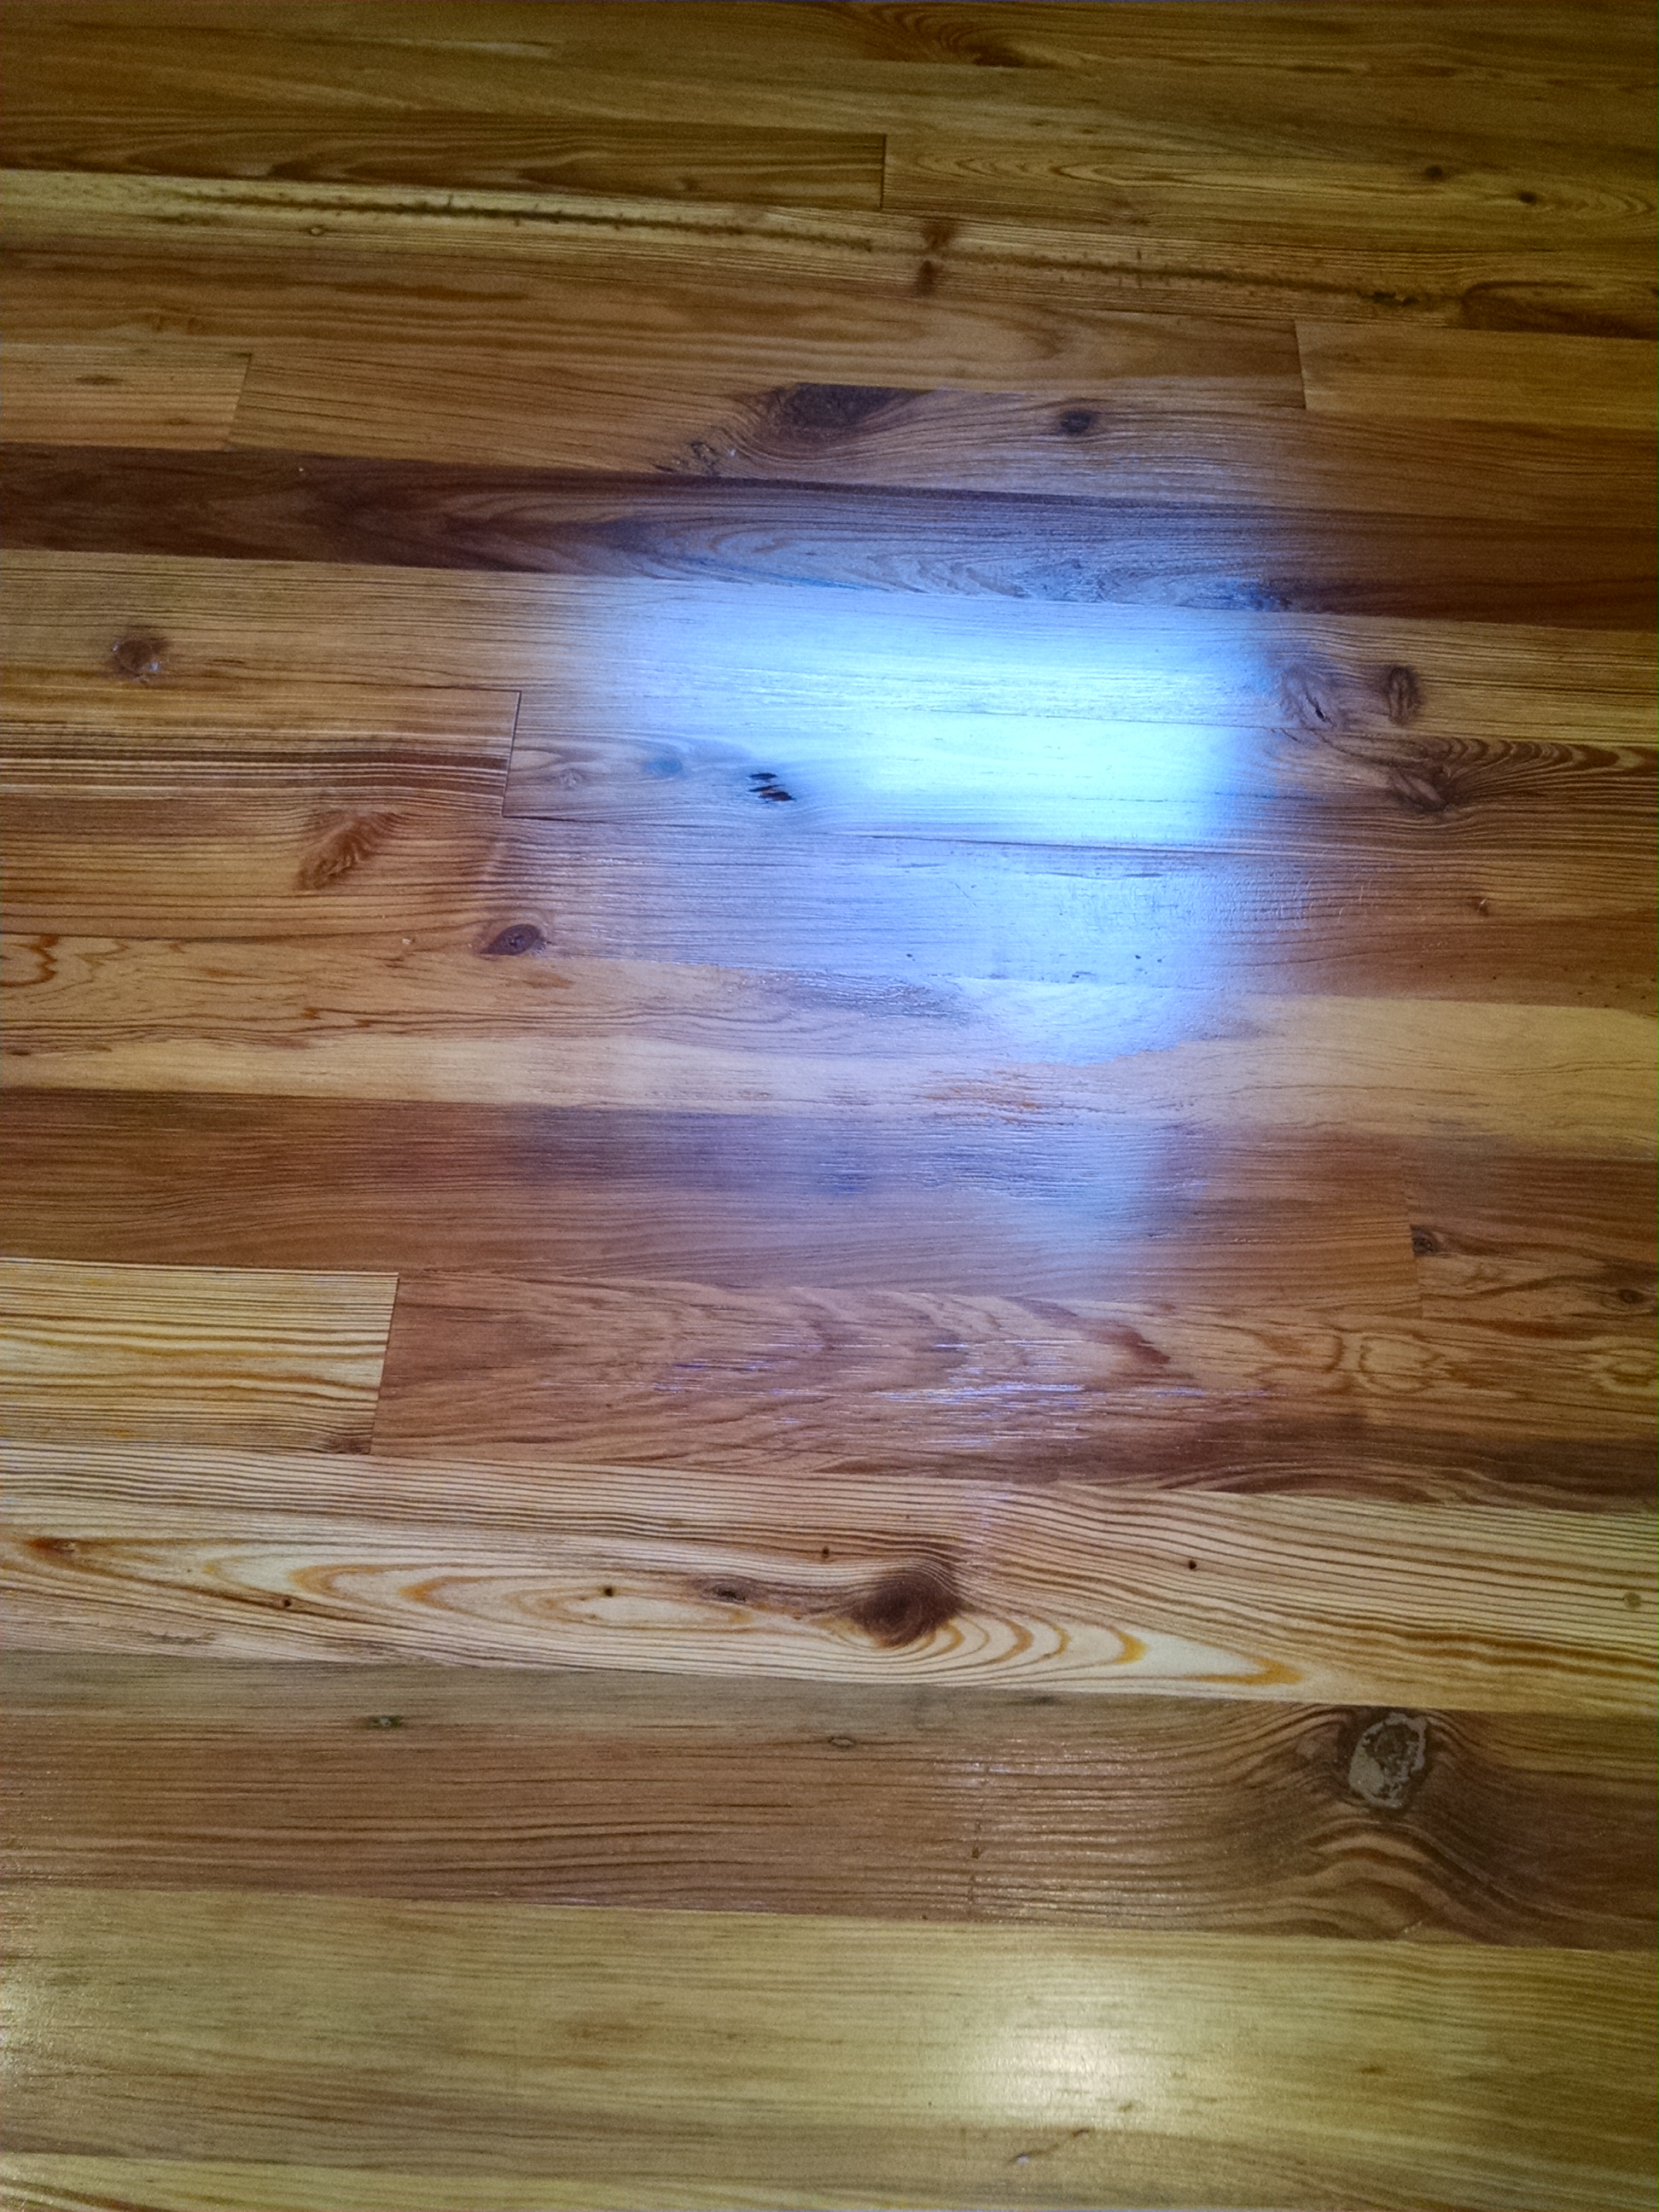
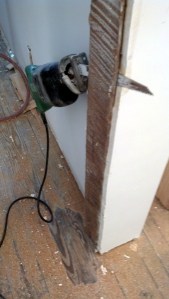
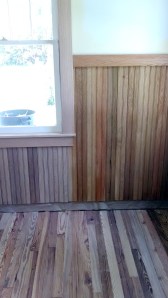
Next is “Project Flooring”. I sanded around each door before installation to keep a monster floor maching at a safe distance from the new jambs. Poor old floors are a mess.

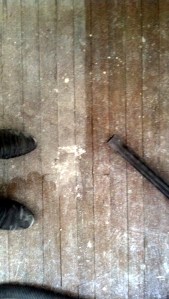
Paint needs a scraping, cracks need a cleaning.
My concern is grinding all this white paint and drywall mud into the wood fibers with the sander and creating an unwanted “Pickling Effect”
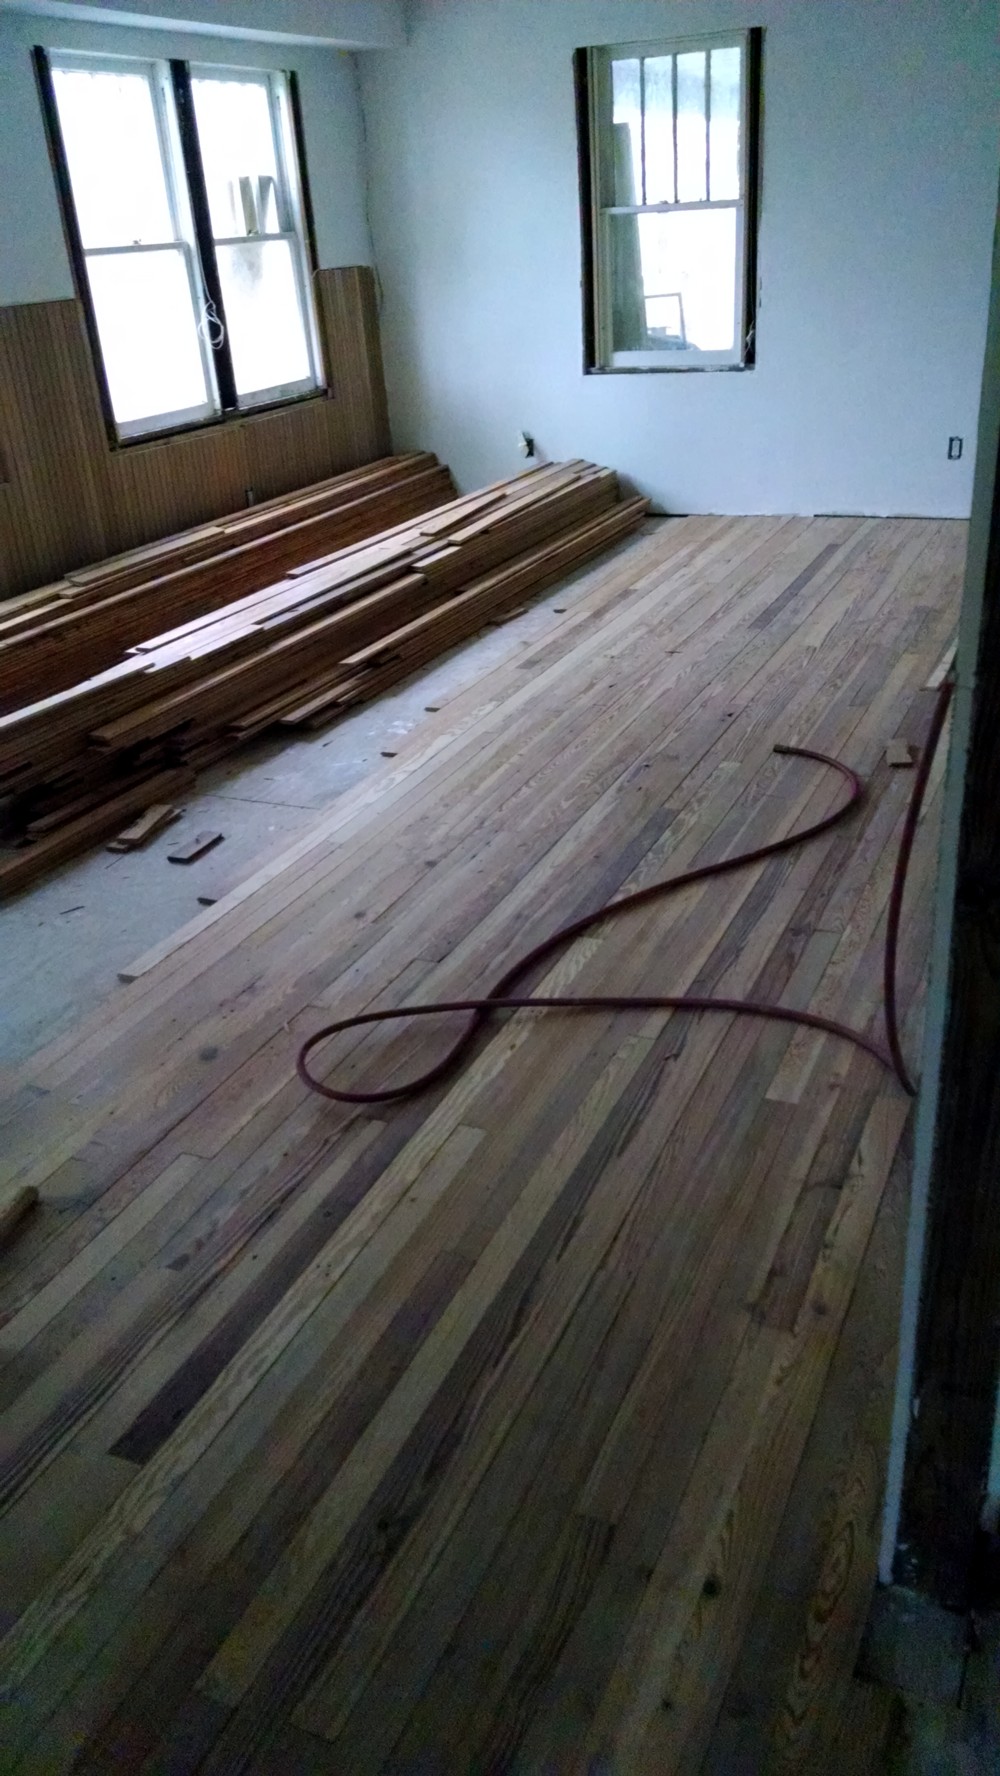
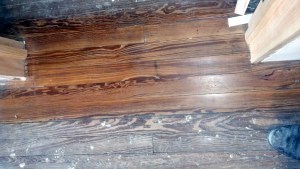
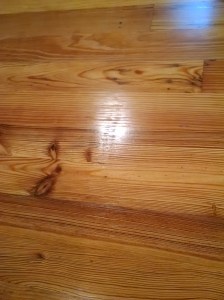
My goal is to make the rest of the floor look something like this “if” the funds are available.
After sanding is complete there is much repair to do, many loose boards to tighten, some may need replacing.
Well, started sanding the floor but the owner put it on hold, to be continued.


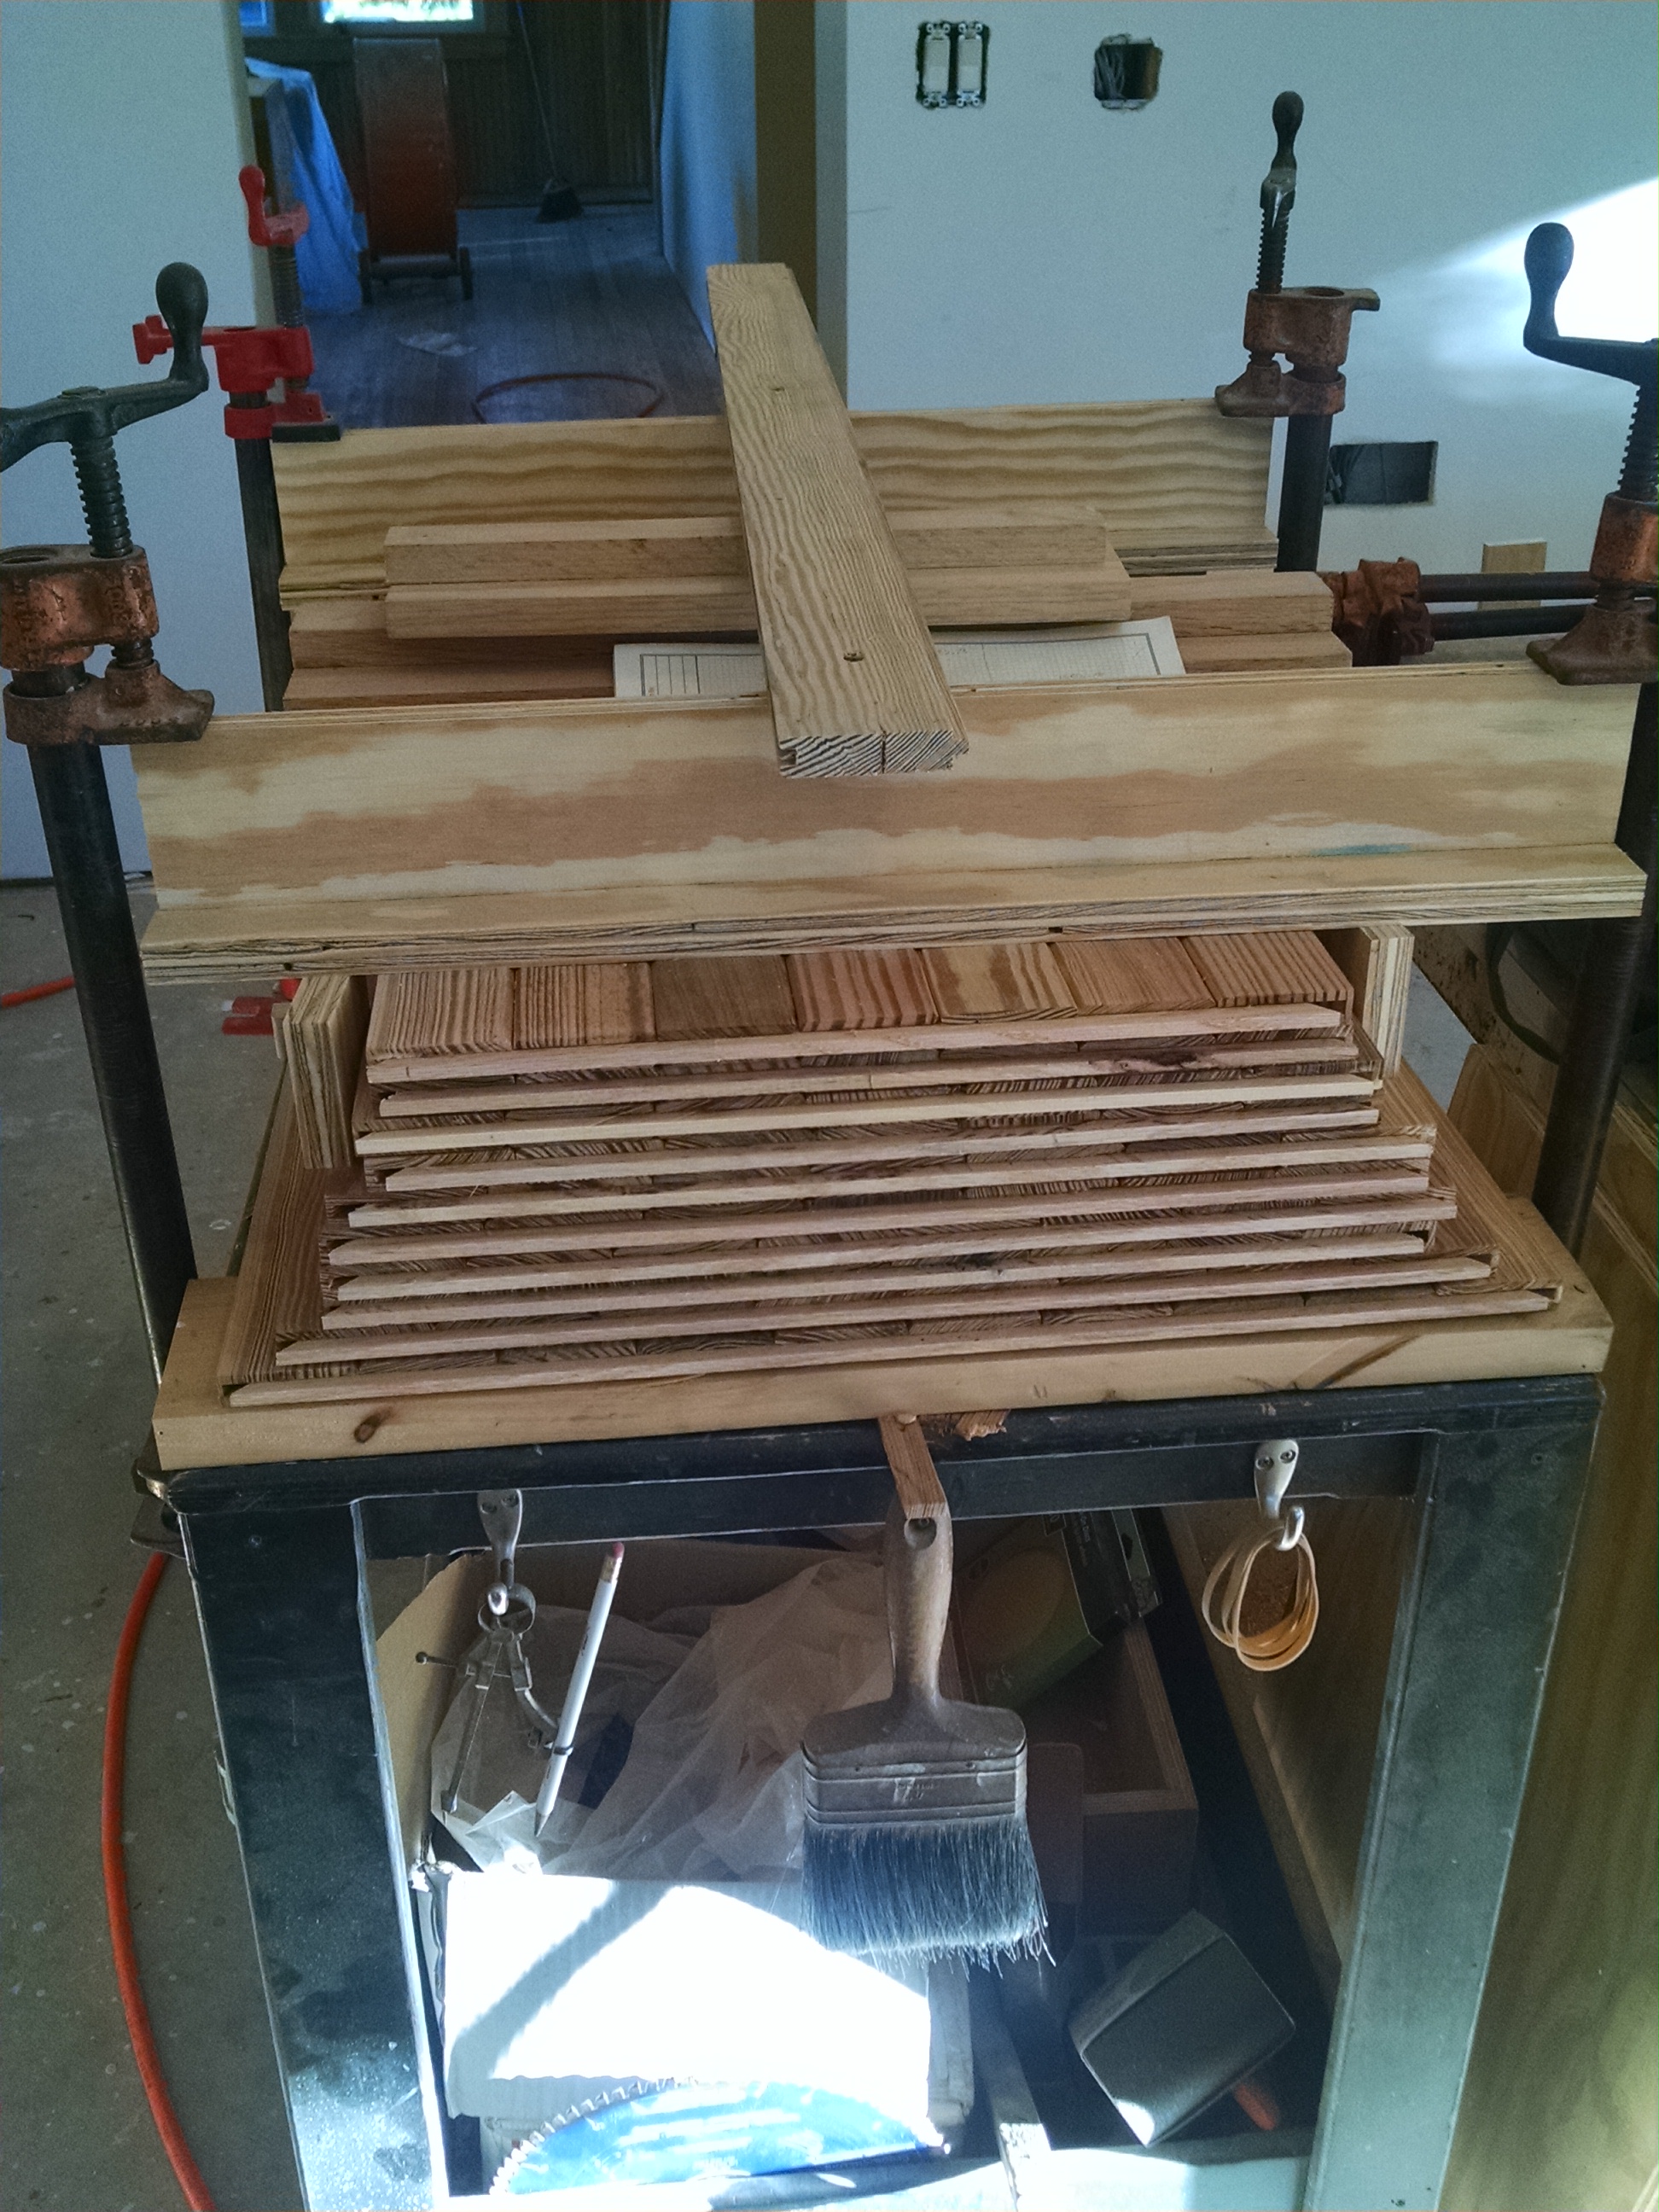
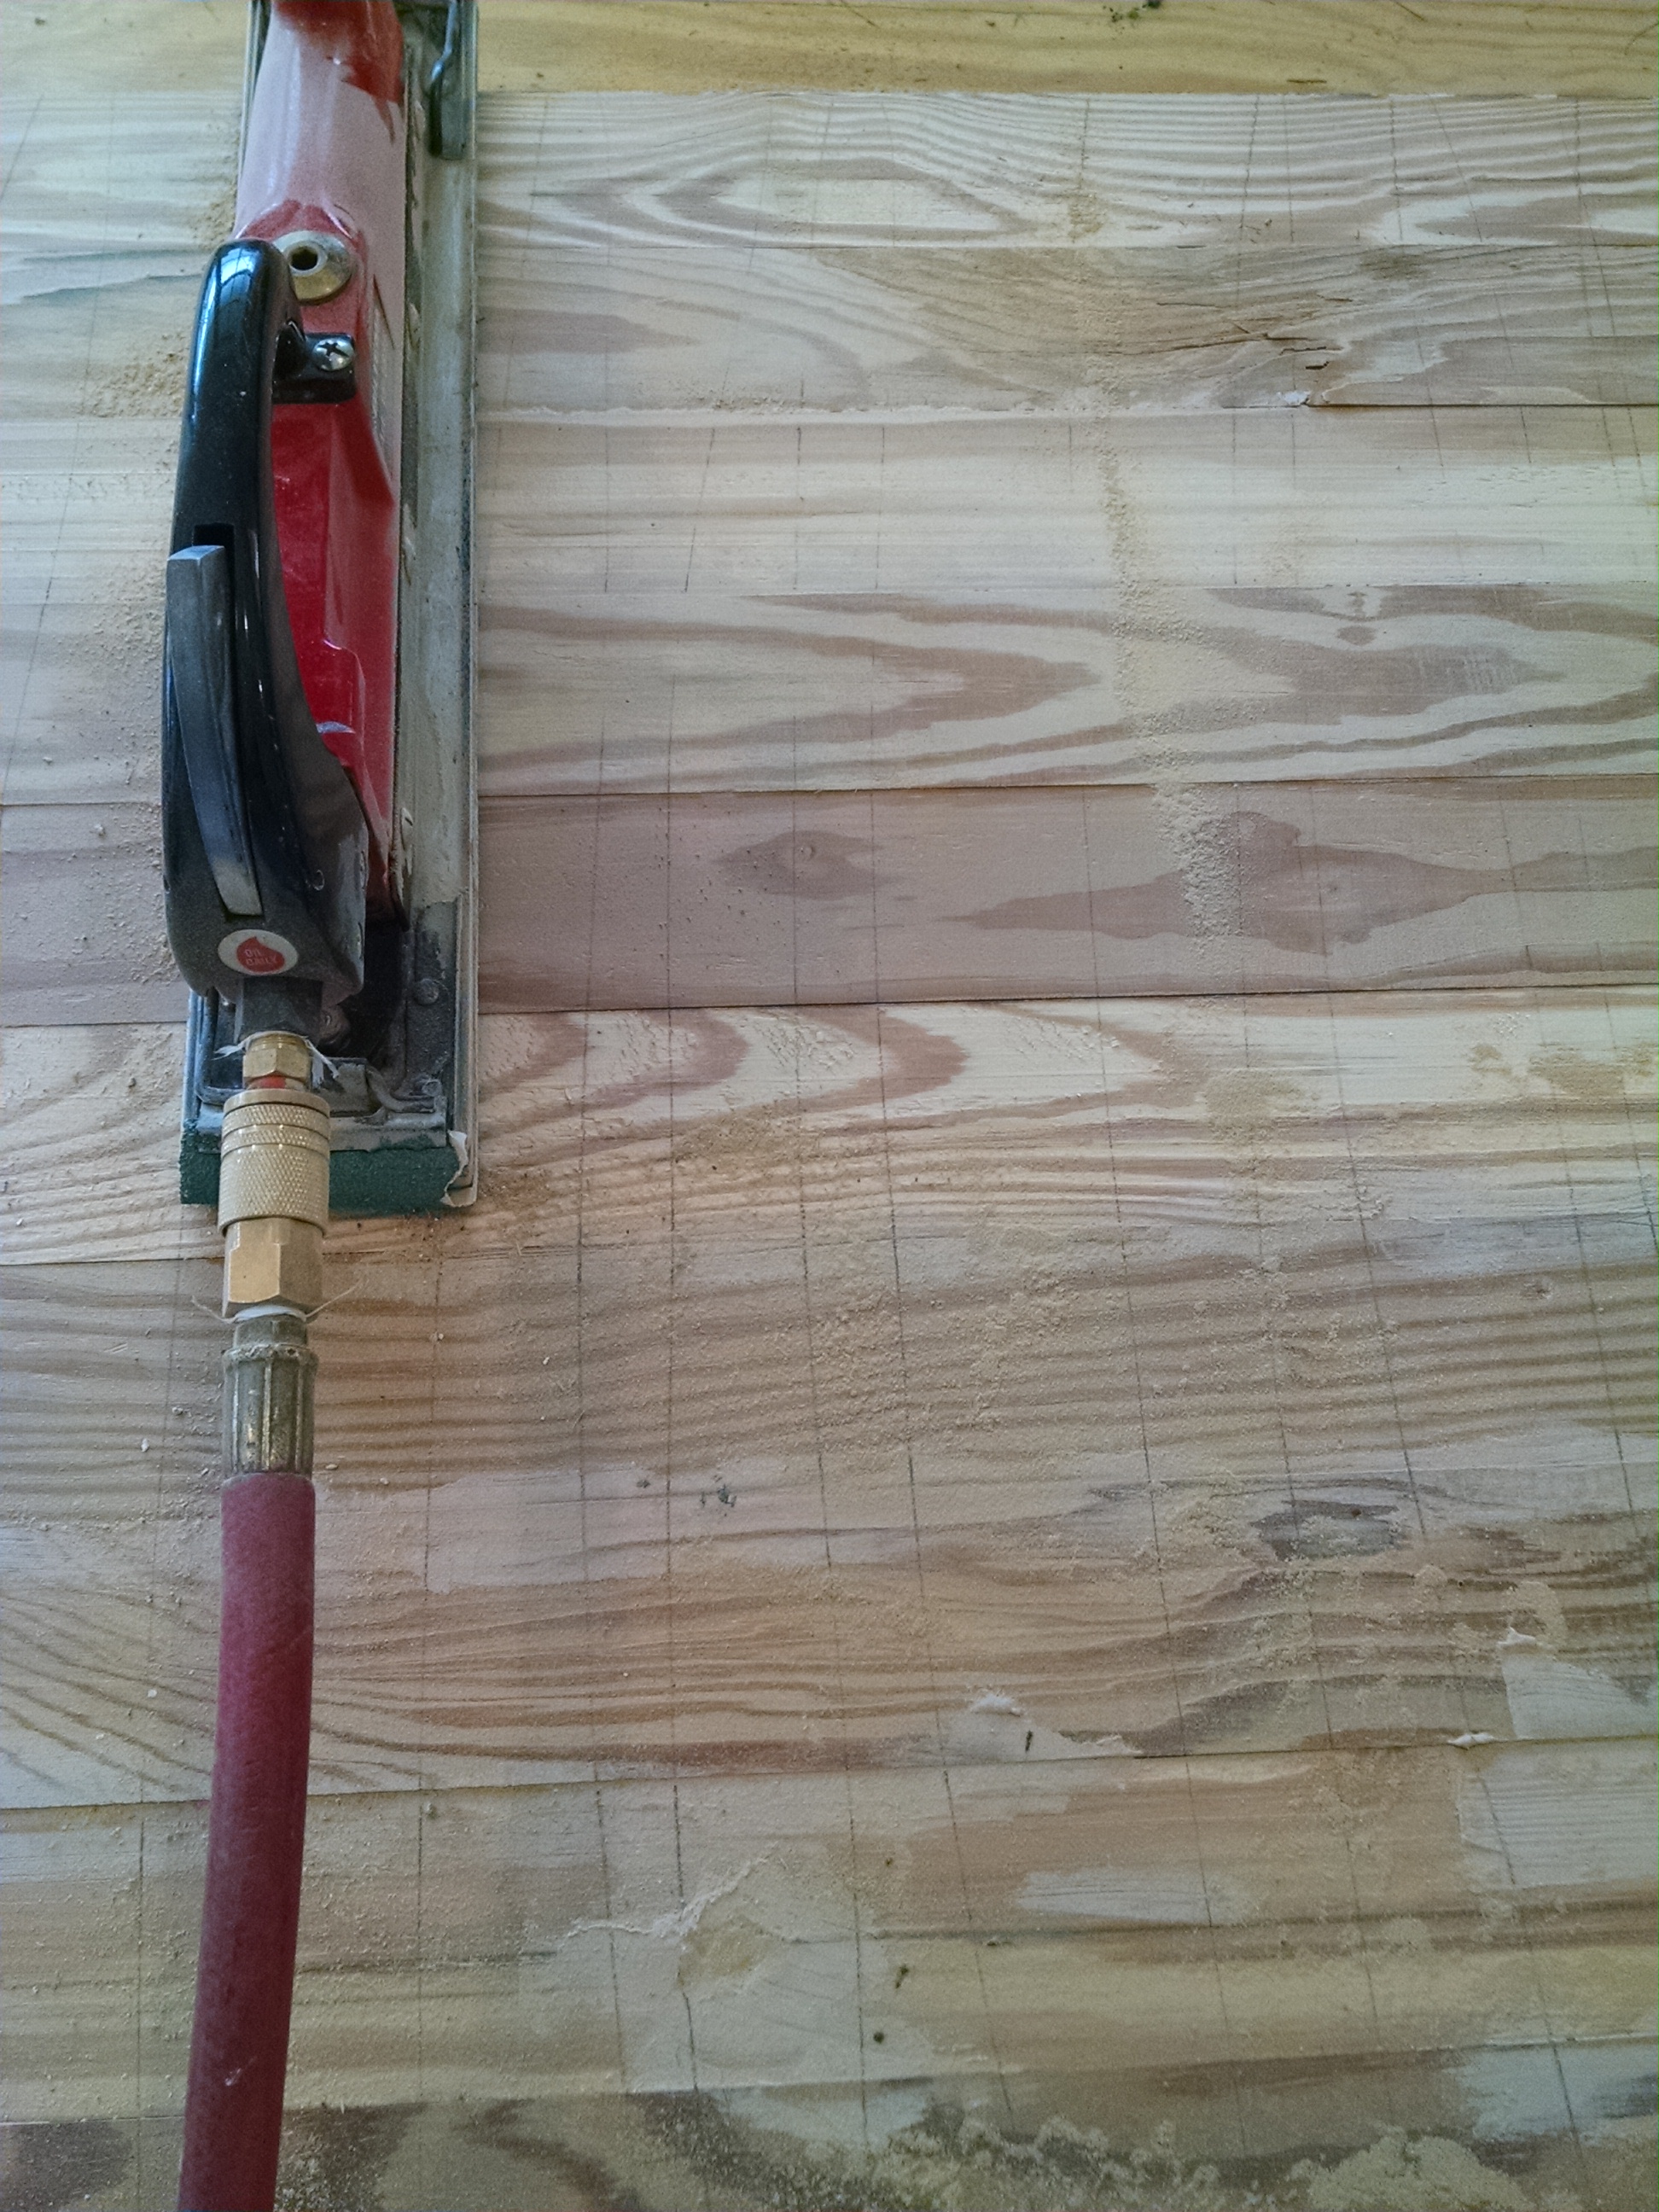
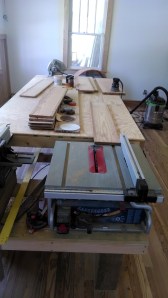
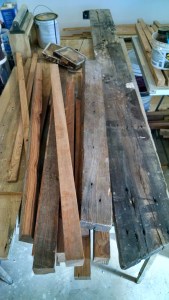
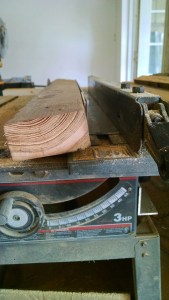
Okay, lets move downstairs, this lumber is all re-claimed Dade County Pine from the house milled into flooring. Was very difficult due to the method they used to mill it, very un-even and inconsistent but I got it all down.
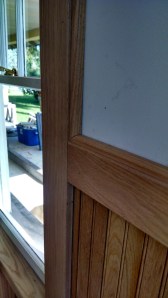
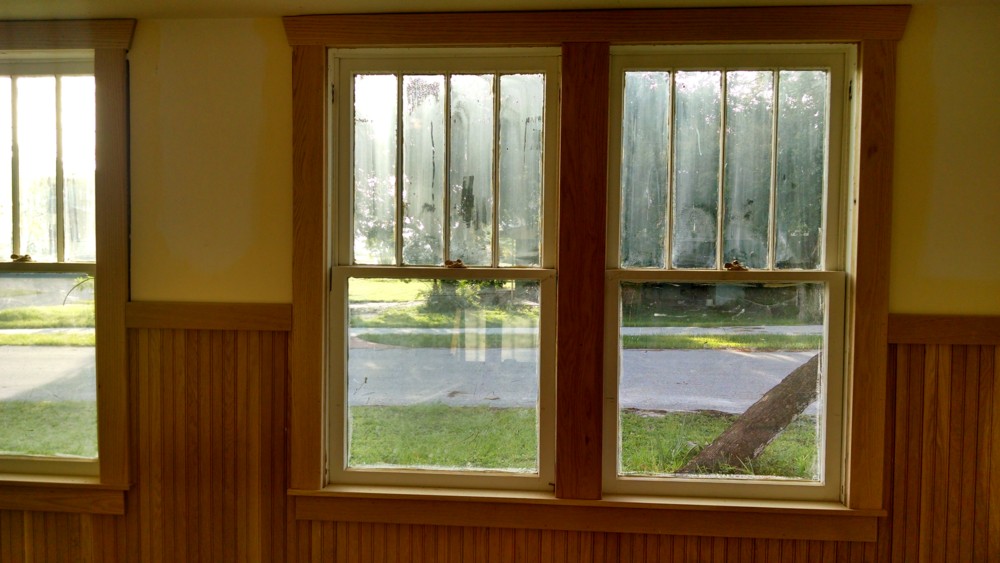
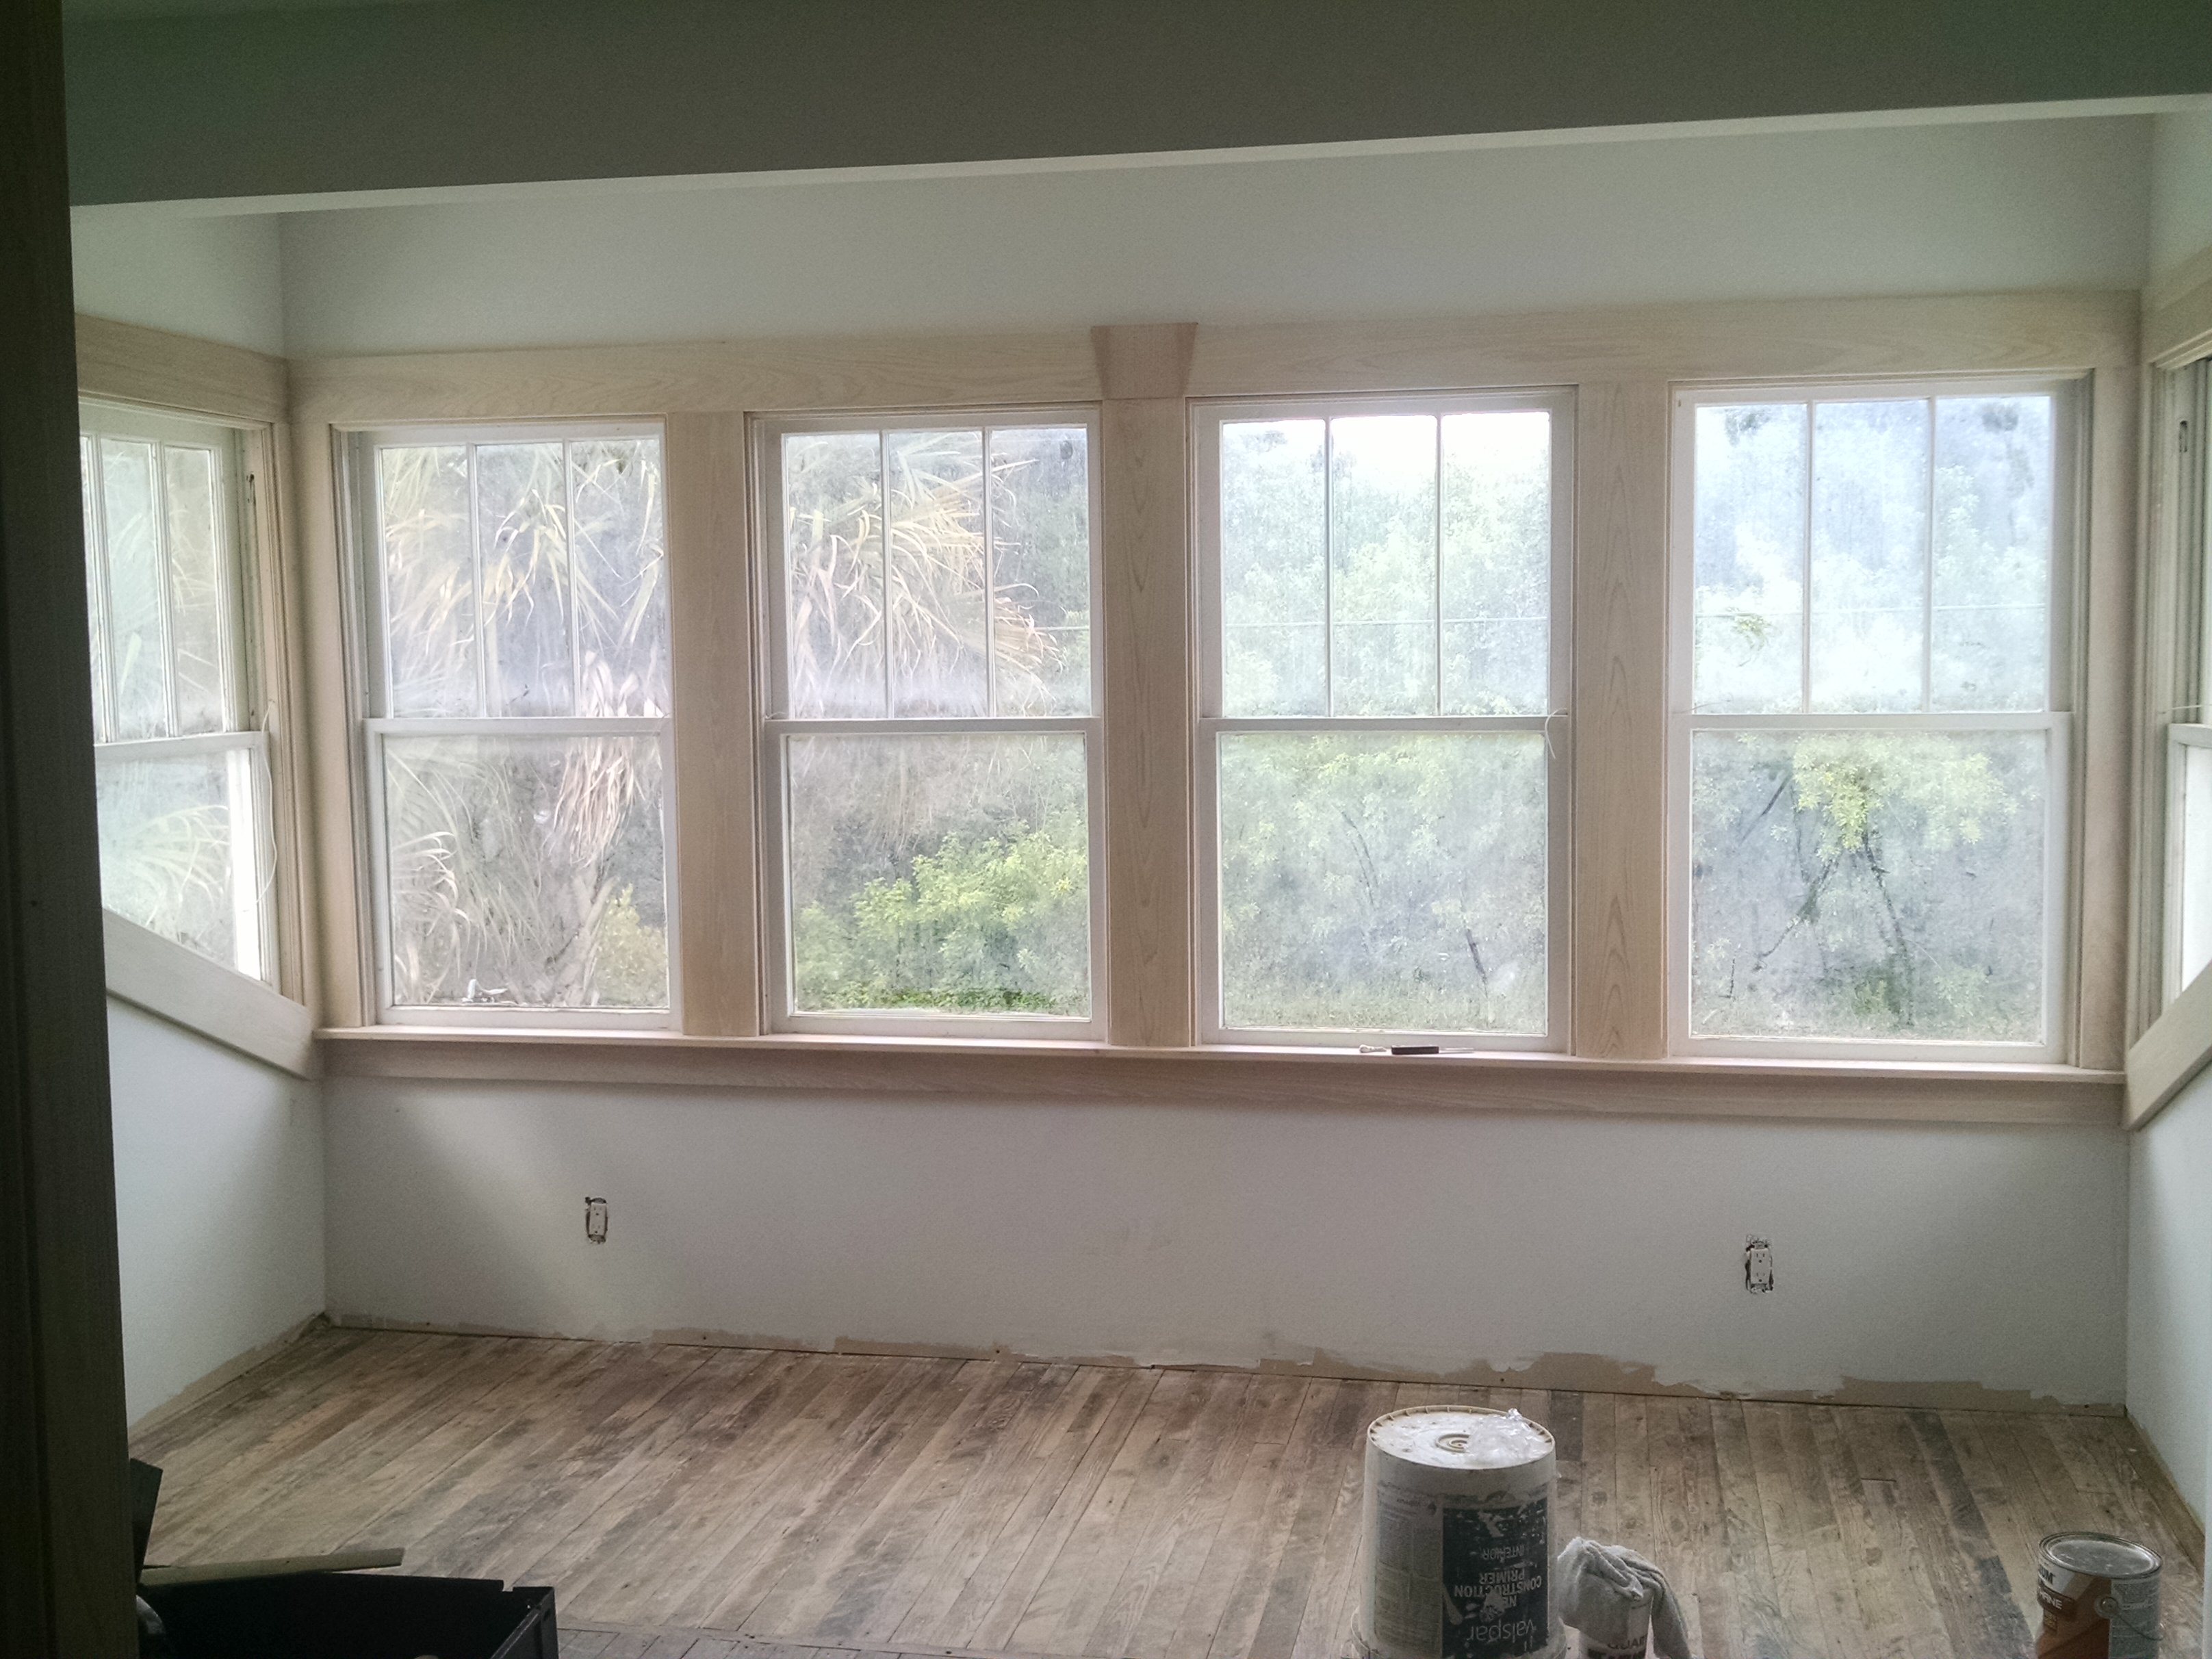
Next project was trimming windows around 3/4″ oak beeded paneling installed by others before me. I would have put dry wall on the entire wall then applied the oak had it been my choice, that would have left a clear and distinct intentional 3/4″ jog to deal with. Am now giving options on how to fix this un-even gapping everywhere. To Be Continued.
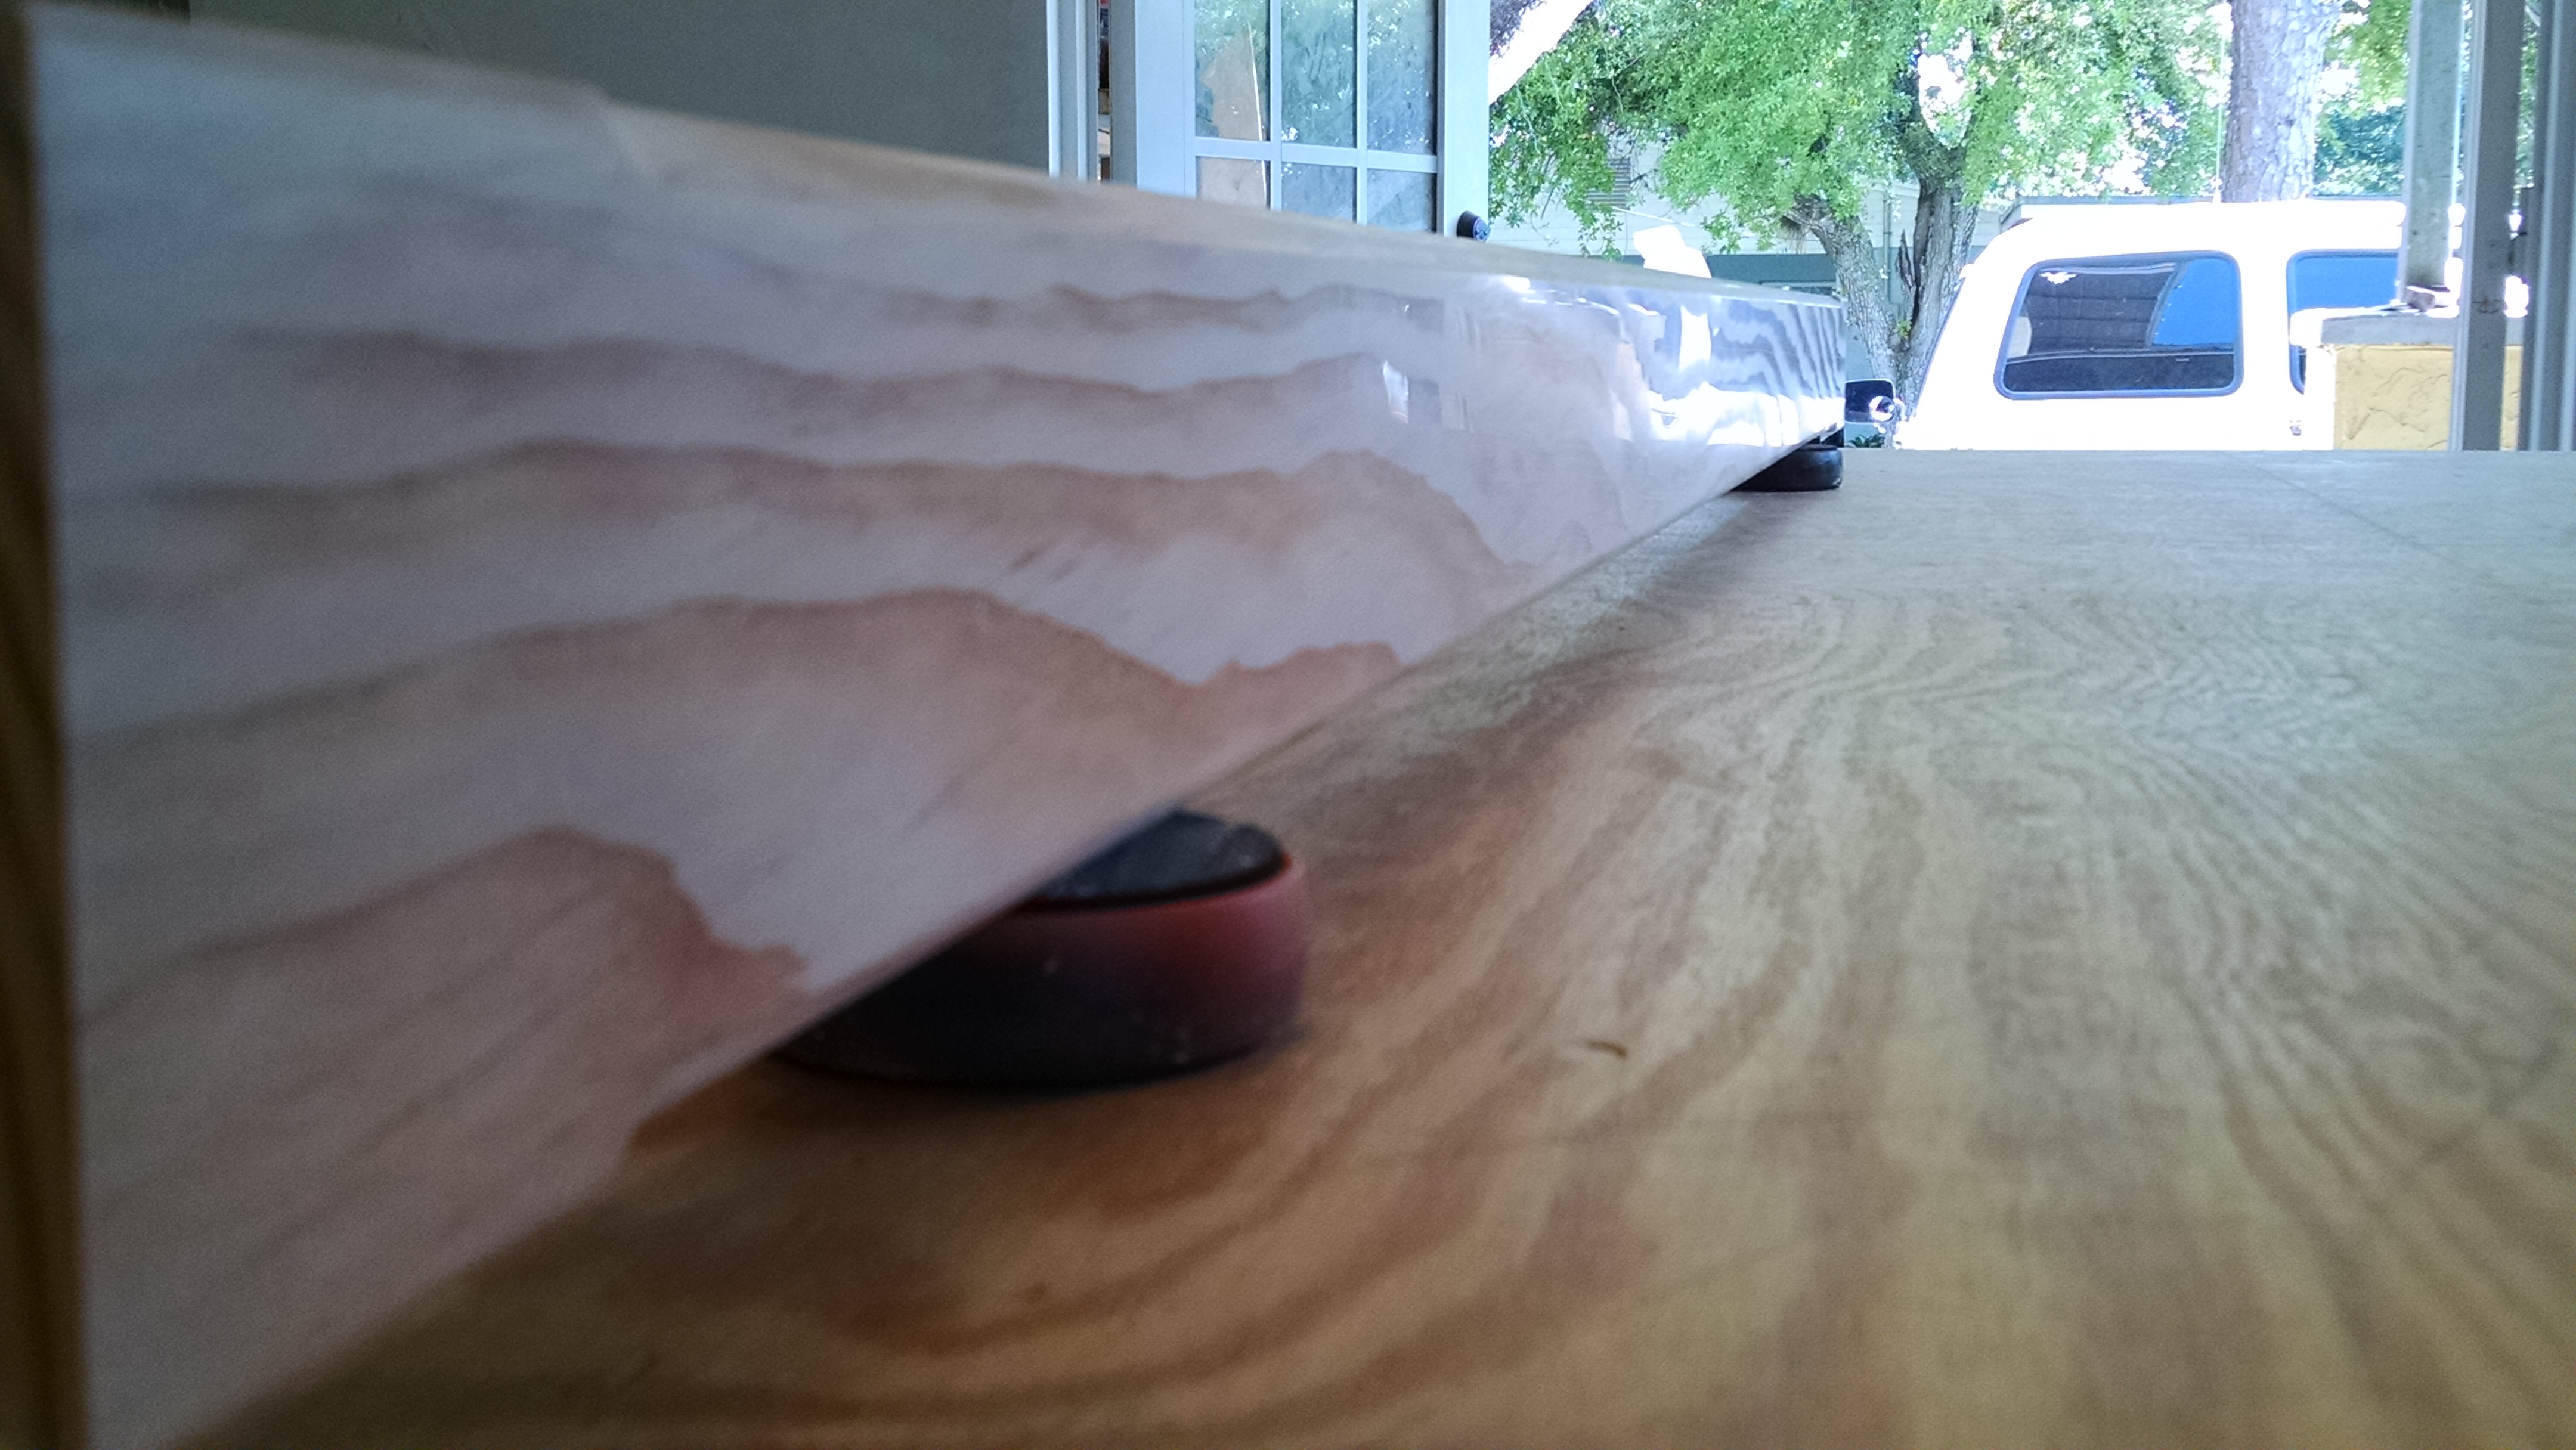
Used router to make 1/4″ slots for casing / header connection, all jointed flush.
People think you just measure, cut, nail. The faster you do the framing the longer it’s going to take to trim it. Old school taught us Framing IS trimwork they go together.
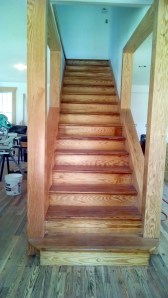
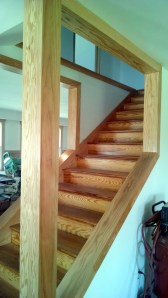
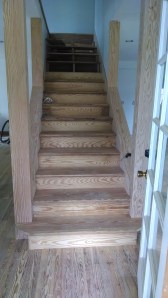
Had to plane some boards from 3/4 to 1/4″ in places to clear the 4x4s…. Treads and Risers getting a face lift before installing, lots of glue, wood filler and sanding.
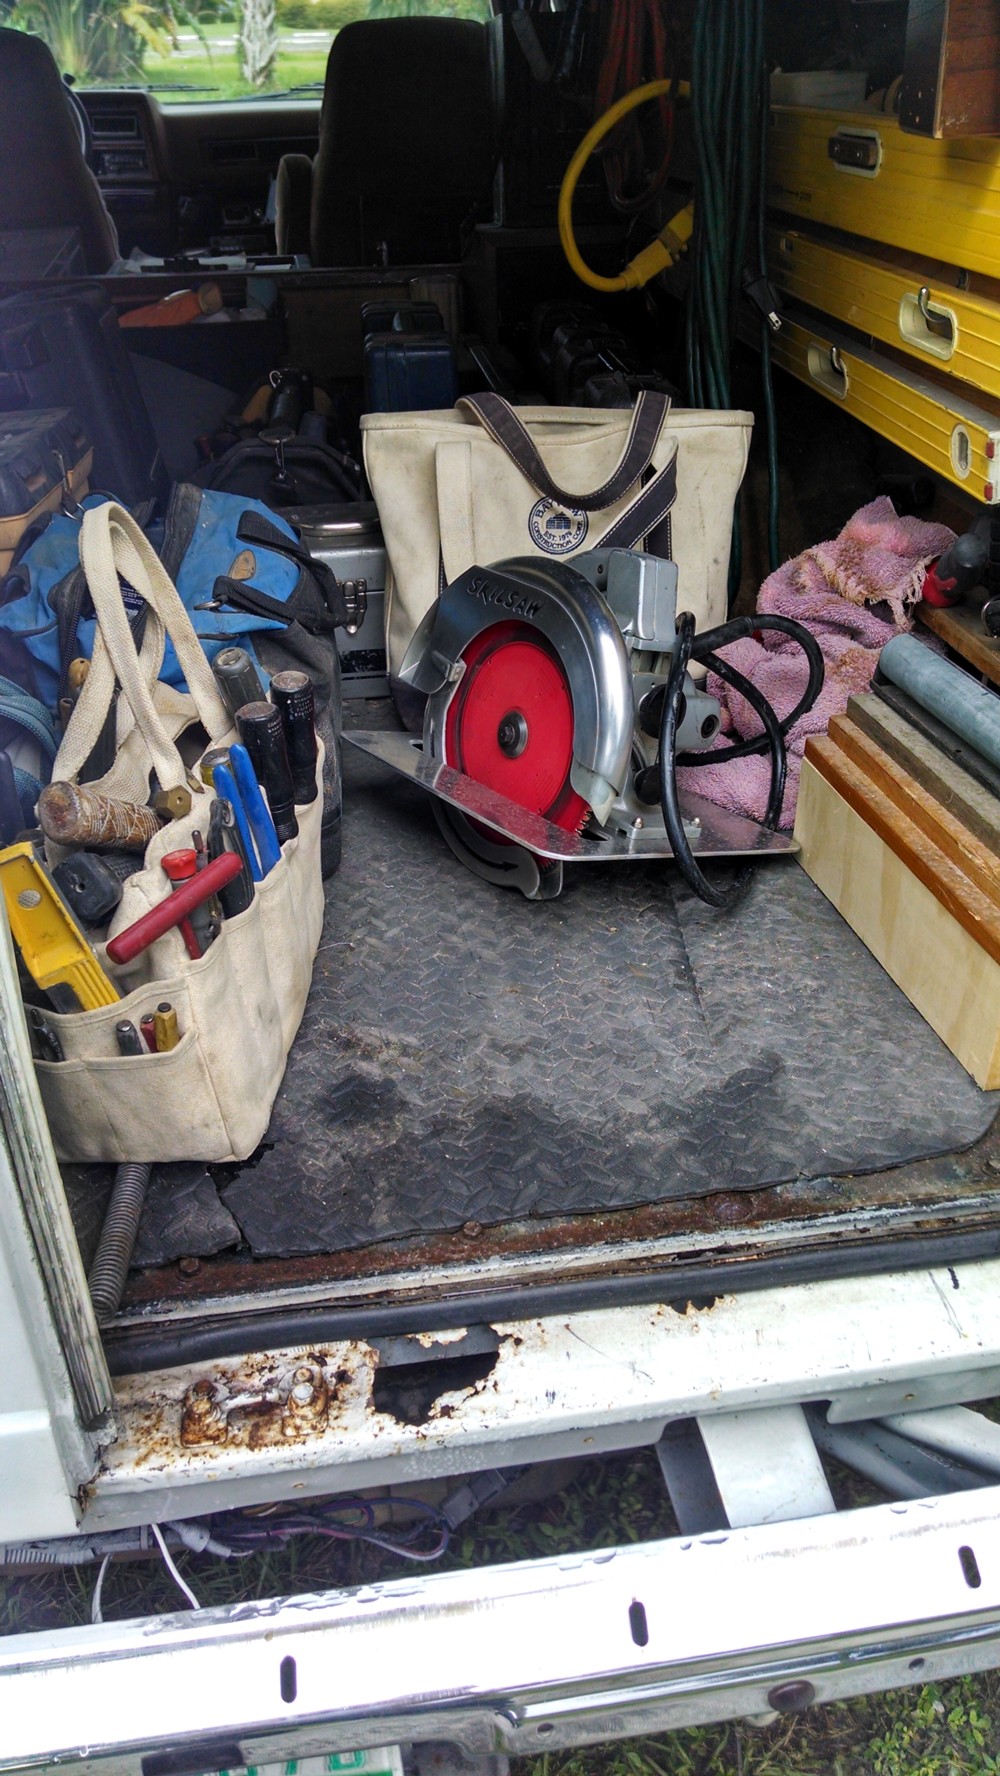
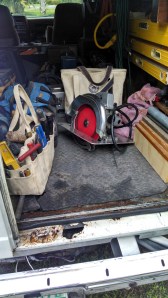
My new best saw, $48.00 from the pawn shop fifty year old Skil 10 1/4″ circular saw, absolutely amazing piece of equipment, used it to cut all the stair treads because they were filled with nails, it never slowed down.
Am getting there slow but sure, to be continued.

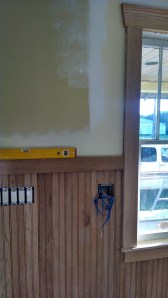
Little closer to window trim details / oak.
Little progress. Windows done, oak paneling cleaned of drywall mud and paint slopped all over it, can now see oak with lacquer and without for an idea what it does.
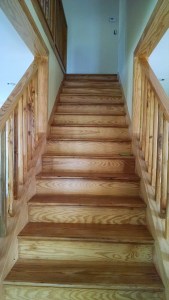
stair detail finished w/2 coats of lacquer to protect them.
Progress! got most windows upstairs done, added some latex white paint to some latex varnish and like magic pickled white finish to match the doors I finished couple weeks ago.
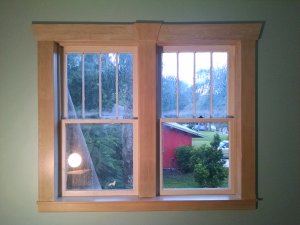
added a Key atop the windows, looks cool hey? I used a combination of old and new fir and pine lumber for the windows, scrapped out a lot of old stuff laying around, sanded, planed, filled the holes from ancient termites, worms and assorted fastening devices, pickling blended it all in just fine.
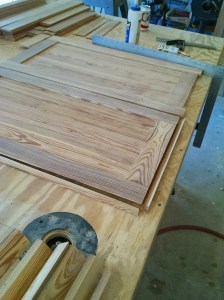
The doors looked like they came from Iraq, all fifteen of them. Previous work done to them removing 100 years of assorted paints was pretty rough, deep gouging and heavy sanding cross grain took me a couple weeks to improve upon. I suggested letting me pickle them lightly to blend in what I couldn’t remove in the time the owner wanted to invest. I got a couple gallons of Shellac on sale which I have never used before, brought it to a paint store to add white tint as per instructions on the cans. It worked well, dried fast like lacquer creating plenty overspray to sand off with light 320 grit sanding. Finished them with three light coats of Minwax Helmsman semi gloss poly, I made quick racks standing them all up for easy spraying.
Got some more windows finished upstairs, much of the trim you see came out of this old junk pile full of nails, termites and things, lots of labor involved cleaning and milling.

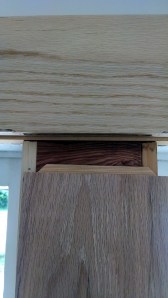
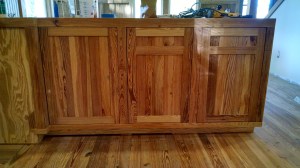
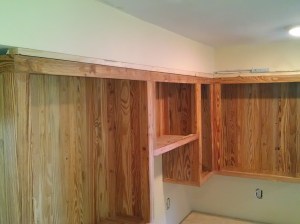
Moving downstairs time for some kitchen cabinet work. The millwork on the flooring was so bad I decided to remove the tongues and re-slot the edges making new 1/4″ splines to glue together.

This cabinet gets two draws for now still yet to be finished.
Owner decided to add panels after the fact so I had to change my plans again and adapt accordingly ripping boards inti 1/4″ thick strips
the results took time but came out looking alright, Dade County Pine cabinets.

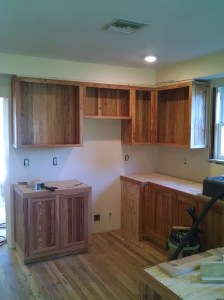
Working on the upper cabinets now, owner told me last night he’s out of money again, until the next time.
and yes I took time to vote Nov. 4 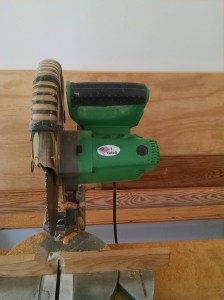
Progress, got started on upper cabinets, put on hold again, doors are next to build.
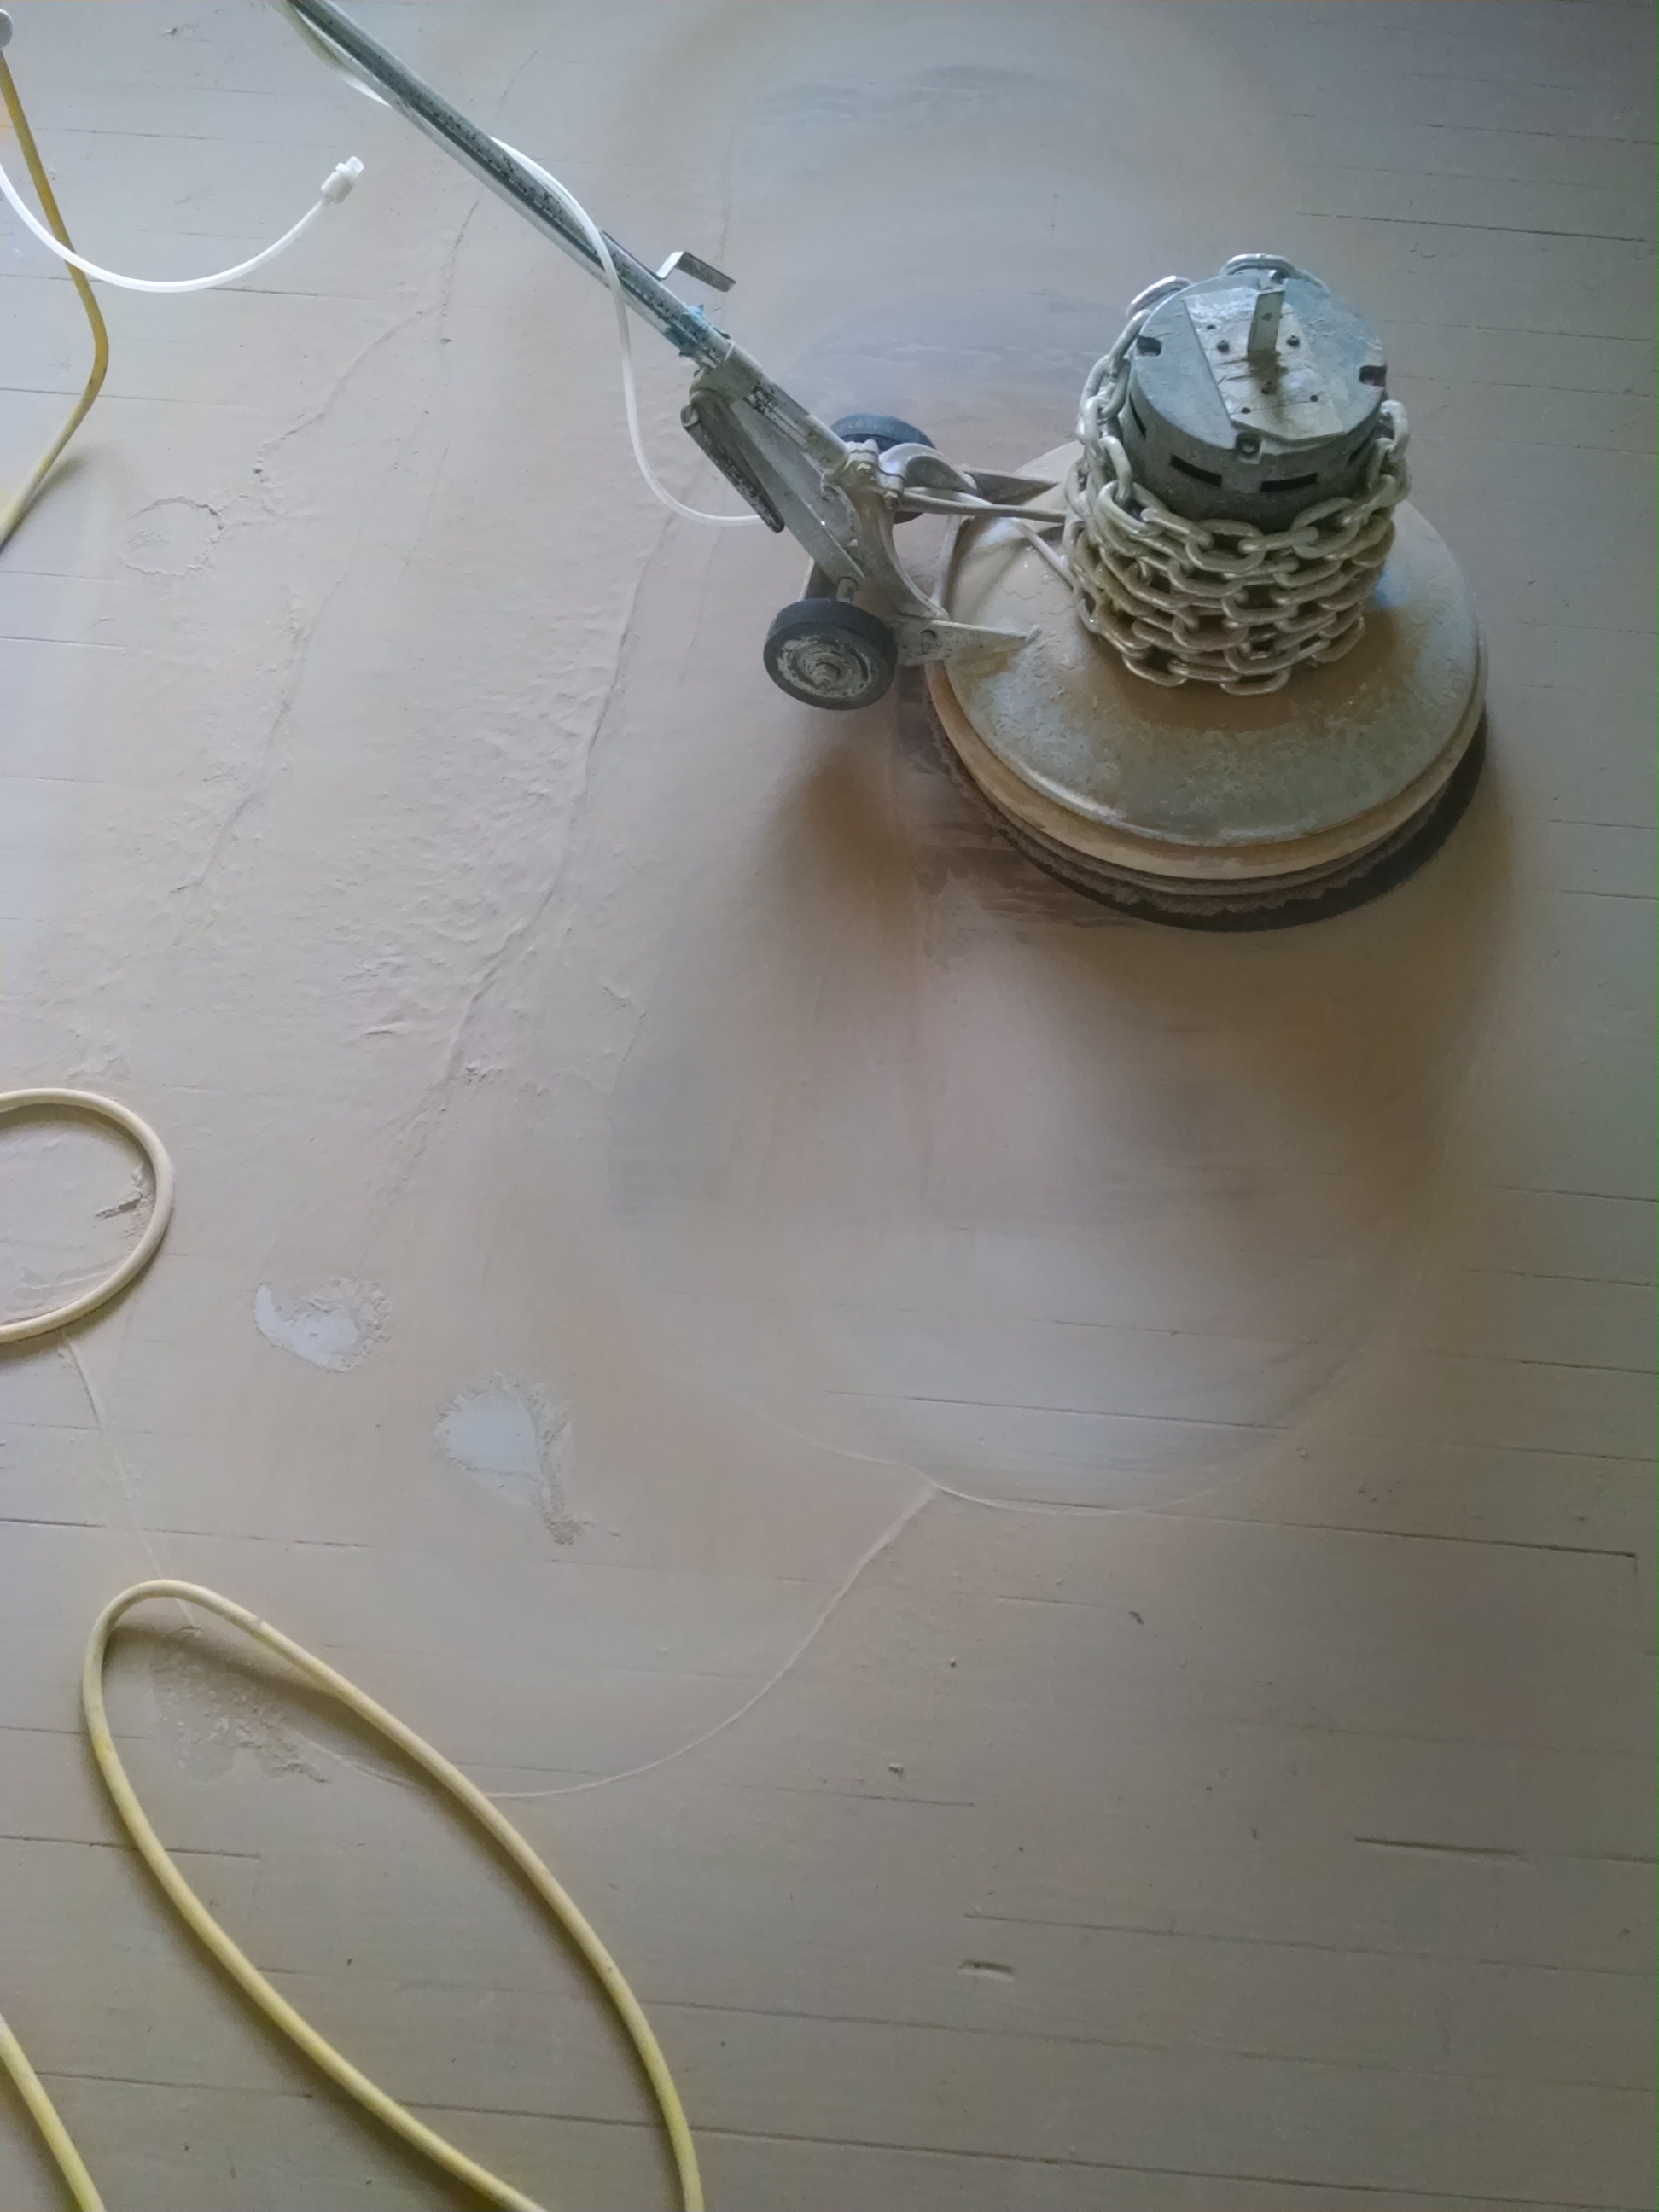
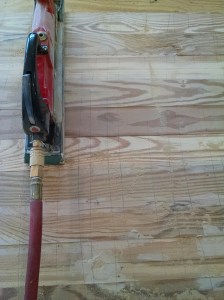
While contemplating upper doors we started the floor, I had a simple two week plan with this 17 inch floor machine that would have been cheap and looked good. Three days into it SOMEONE decided to rent a drum sander and floor grinder then hoped a couple gallons of the wrong colored wood putty would fix all the damage he did with them, NOT!
 Wood putty on the drywall, baseboard will cover the perimeter, no need for that.
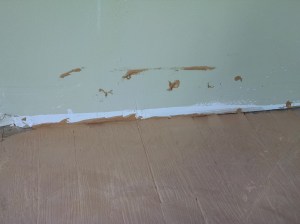
Marks in front of sander are drum sander scars. Everywhere. 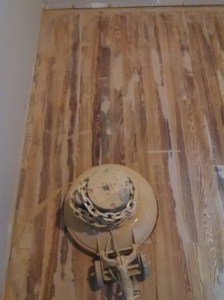
The floor upstairs AND downstairs is RUINED, only way to fix it is rent a belt sander and take it down another 1/8 inch to sand all the damage out. My two week plan turned into four weeks of sanding away much of the damage and will now need a satin finish to hide the rest.
Ran out of money again, until the next time.
 Floors done, someone else, filled with bubbles, not my problem

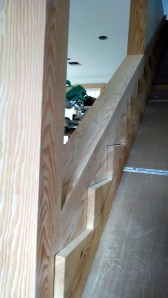
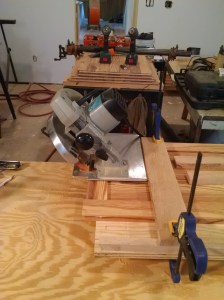
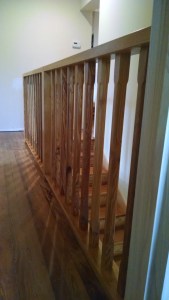
 On to handrails, wiped out another pile of twisted nail embedded Dade County Pine. Made a sled to feed into the table saw to straighten and square the boards.
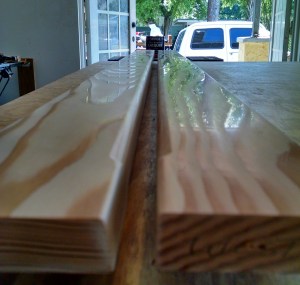
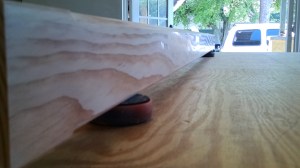
Little router work, some sanding polishing, few coats of lacquer and presto.
Rails before applying any finish, raw wood shining.
Linen closet underway, spruce, will look 100 years old when finished.
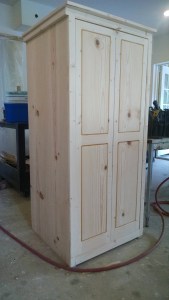
To be continued.


 new paint, minor changes
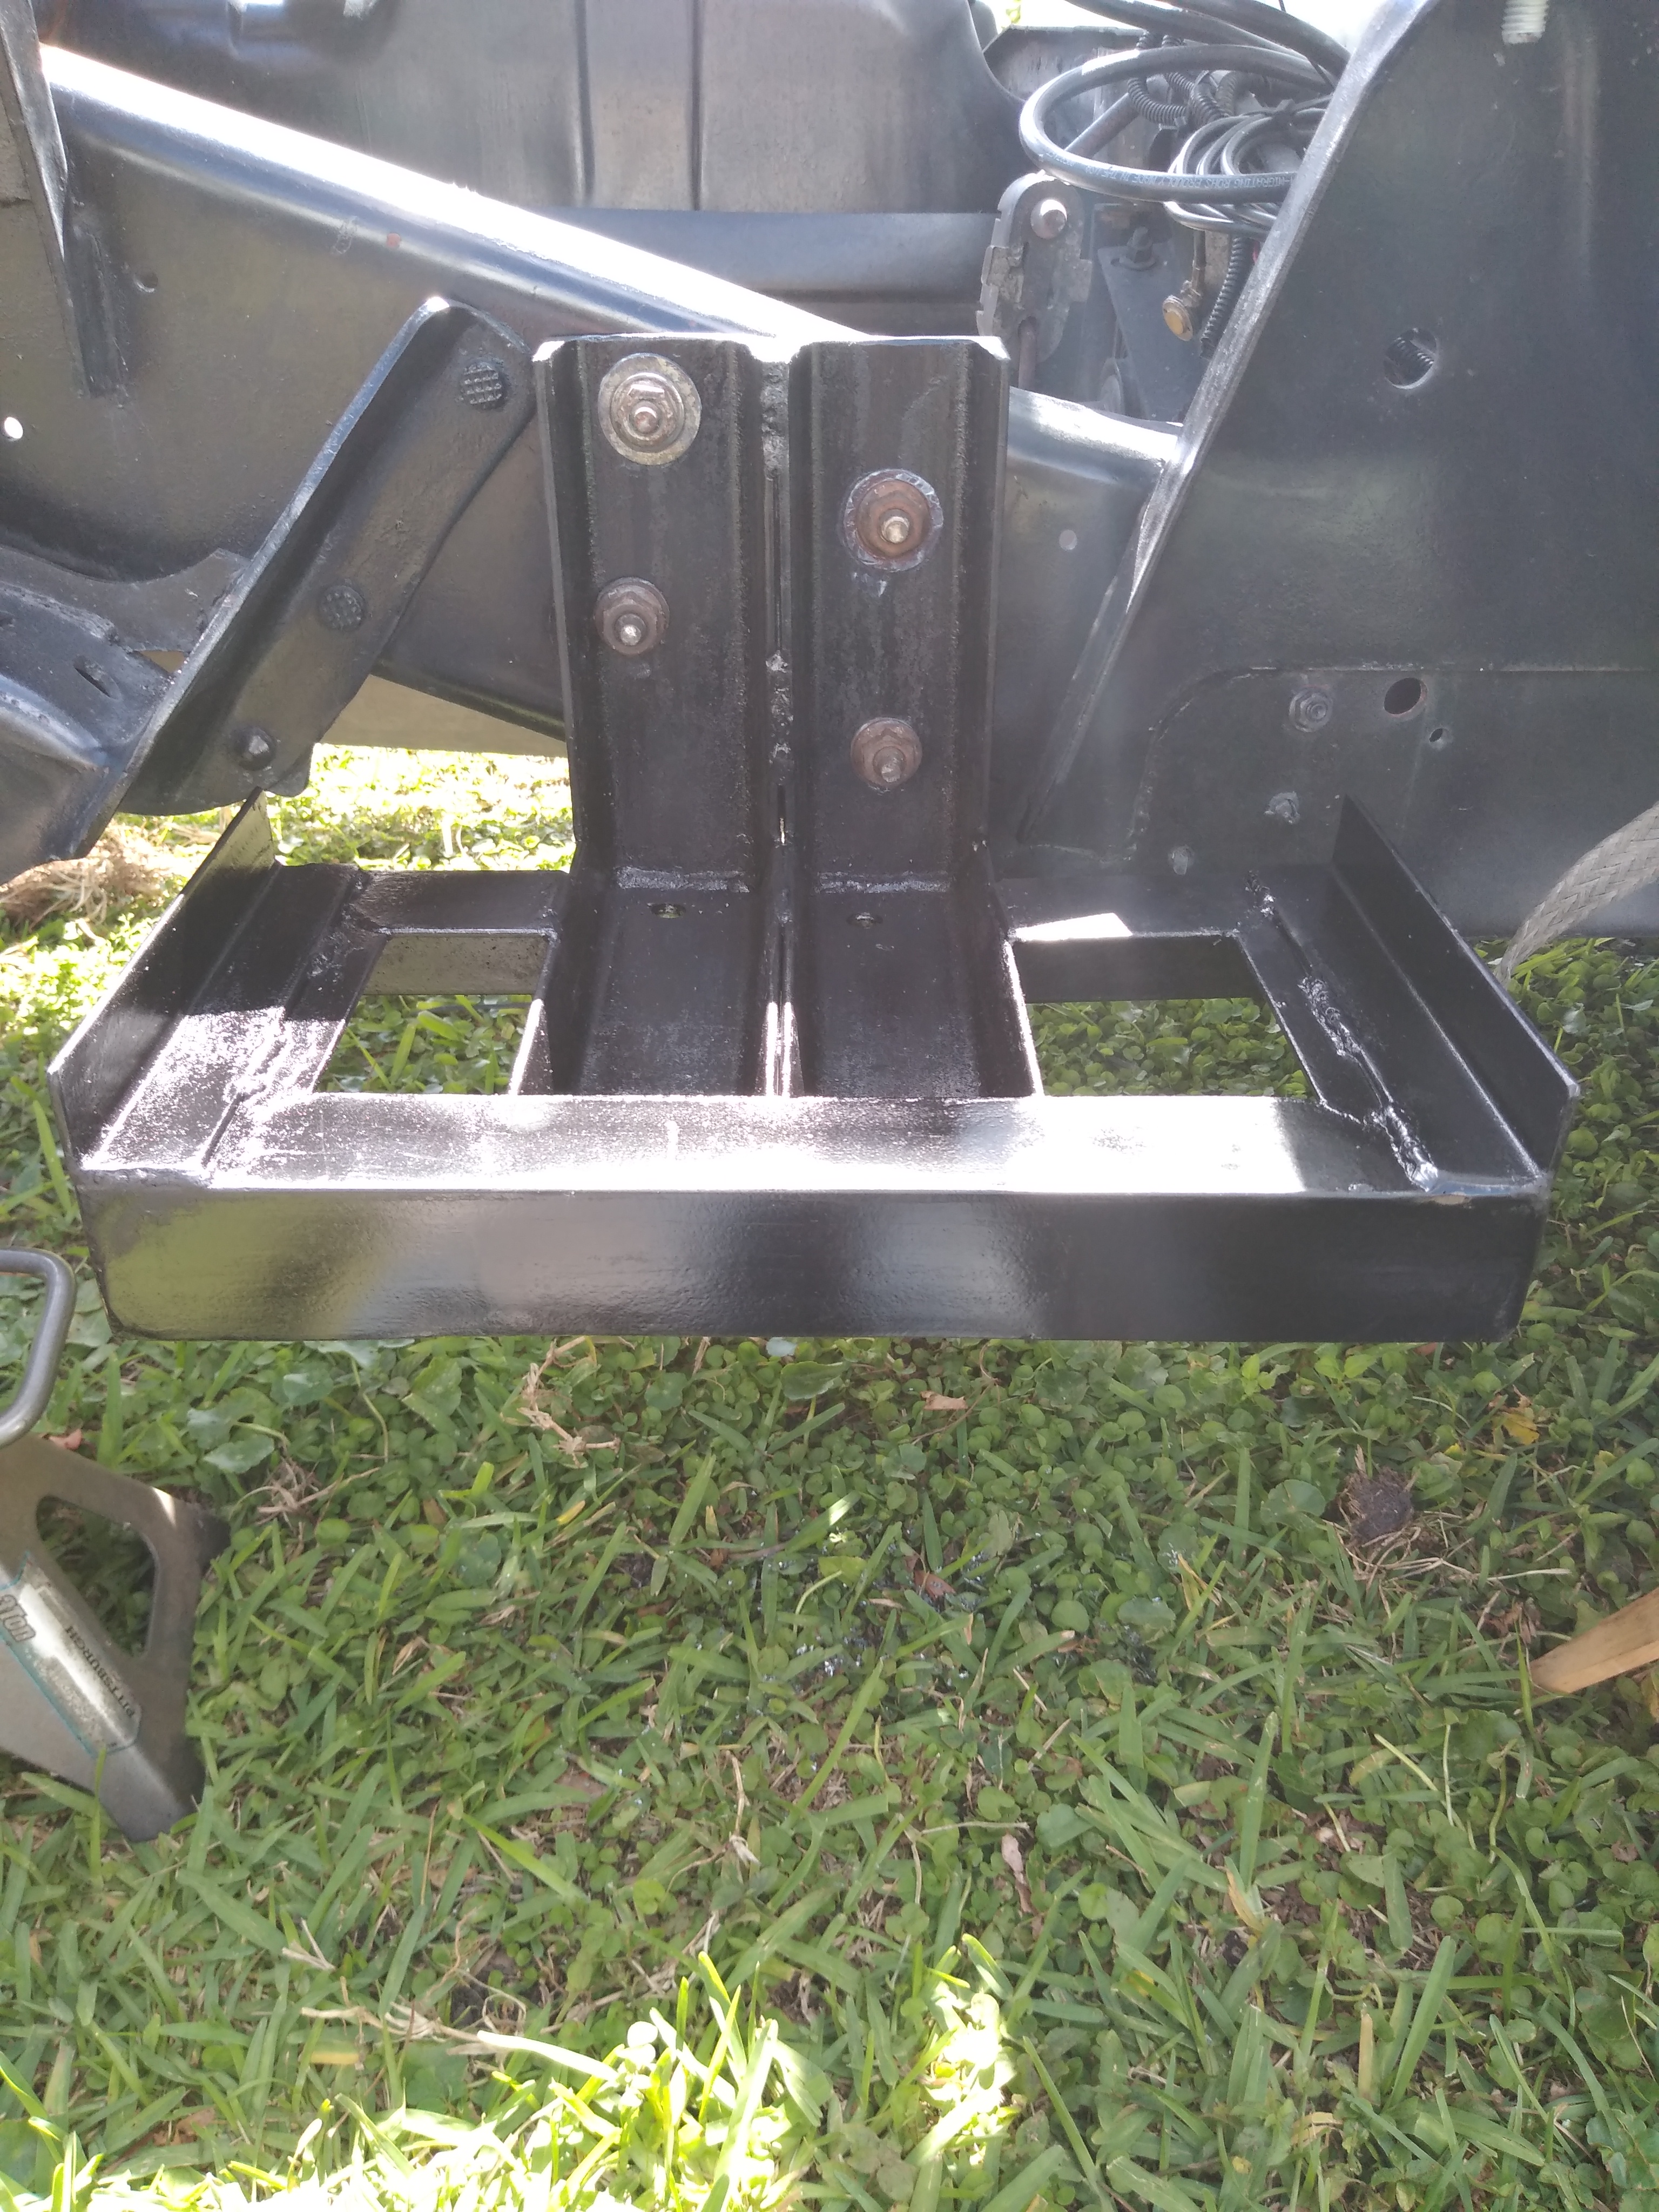

 used all factory bolts and mounts.
 Needed stereo, designed 1.3 cu. ft. sealed 12″ sub woofer box, nine speakers three amps.
 Couple ham radios keep me company and help with emergency communications if needed.